
A Comprehensive Guide to the Windows 11 USB Media Creation Tool
Related Articles: A Comprehensive Guide to the Windows 11 USB Media Creation Tool
Introduction
With enthusiasm, let’s navigate through the intriguing topic related to A Comprehensive Guide to the Windows 11 USB Media Creation Tool. Let’s weave interesting information and offer fresh perspectives to the readers.
Table of Content
A Comprehensive Guide to the Windows 11 USB Media Creation Tool
The Windows 11 USB Media Creation Tool is an invaluable resource for users seeking to install or upgrade to Windows 11, offering a straightforward and reliable method for creating bootable USB drives. This tool serves as a bridge between the digital world of Windows 11 and the physical realm of your computer, enabling a seamless transition to the latest operating system.
Understanding the Tool’s Purpose
The Windows 11 USB Media Creation Tool is designed to simplify the process of creating bootable media for installing or upgrading to Windows 11. It eliminates the need for complex manual procedures, automating the entire process and ensuring a consistent and reliable outcome. This tool is particularly beneficial for:
- Clean installations: Creating a bootable USB drive allows users to perform a clean install of Windows 11, removing any existing operating system and starting fresh. This can be beneficial for resolving system issues, freeing up storage space, or upgrading to a newer version of Windows.
- Upgrading existing systems: The tool can be used to create a bootable drive containing the Windows 11 upgrade files, allowing users to upgrade their existing Windows 10 system without the need for a full reinstallation.
- Installing Windows 11 on new hardware: For users building new computers or upgrading existing ones, the USB media creation tool provides a convenient way to install Windows 11 directly onto the new hardware.
Key Features and Benefits
The Windows 11 USB Media Creation Tool boasts several key features that contribute to its ease of use and effectiveness:
- Intuitive interface: The tool features a simple and user-friendly interface, guiding users through each step of the process with clear instructions and visual cues.
- Automatic download and creation: The tool automatically downloads the necessary Windows 11 installation files and creates a bootable USB drive, eliminating the need for manual downloads or complex configuration.
- Support for multiple languages: The tool supports a wide range of languages, ensuring accessibility for users worldwide.
- Compatibility with various USB drives: The tool supports a variety of USB drives, providing flexibility in choosing the appropriate storage device.
- Verification and integrity checks: The tool performs integrity checks on the downloaded files and the created media, ensuring the reliability and functionality of the installation process.
Step-by-Step Guide to Using the Tool
- Download the tool: Visit the official Microsoft website and download the Windows 11 USB Media Creation Tool.
- Run the tool: Run the downloaded executable file.
- Accept the terms and conditions: Review and accept the license agreement.
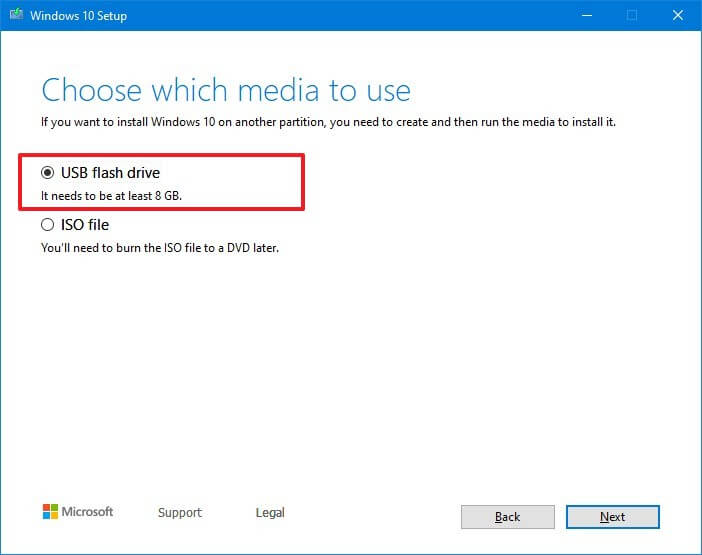
- Select the desired options: Choose whether to create a bootable USB drive for installation or upgrade, and specify the language and edition of Windows 11.
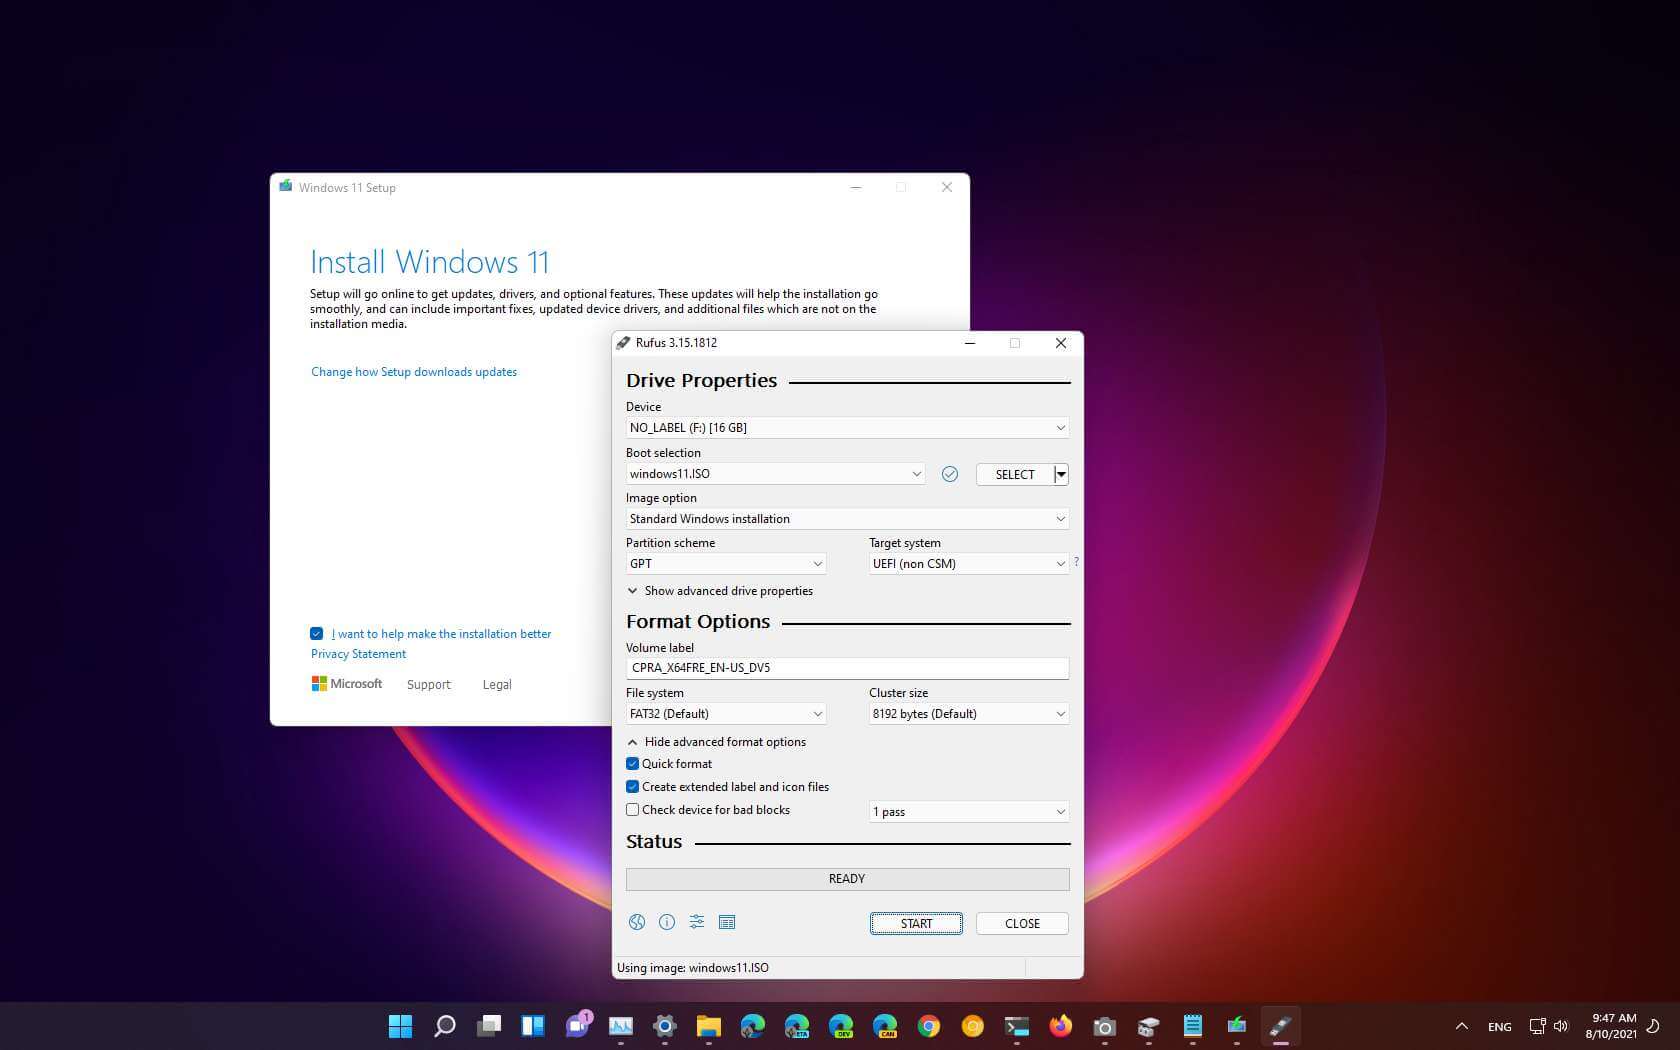
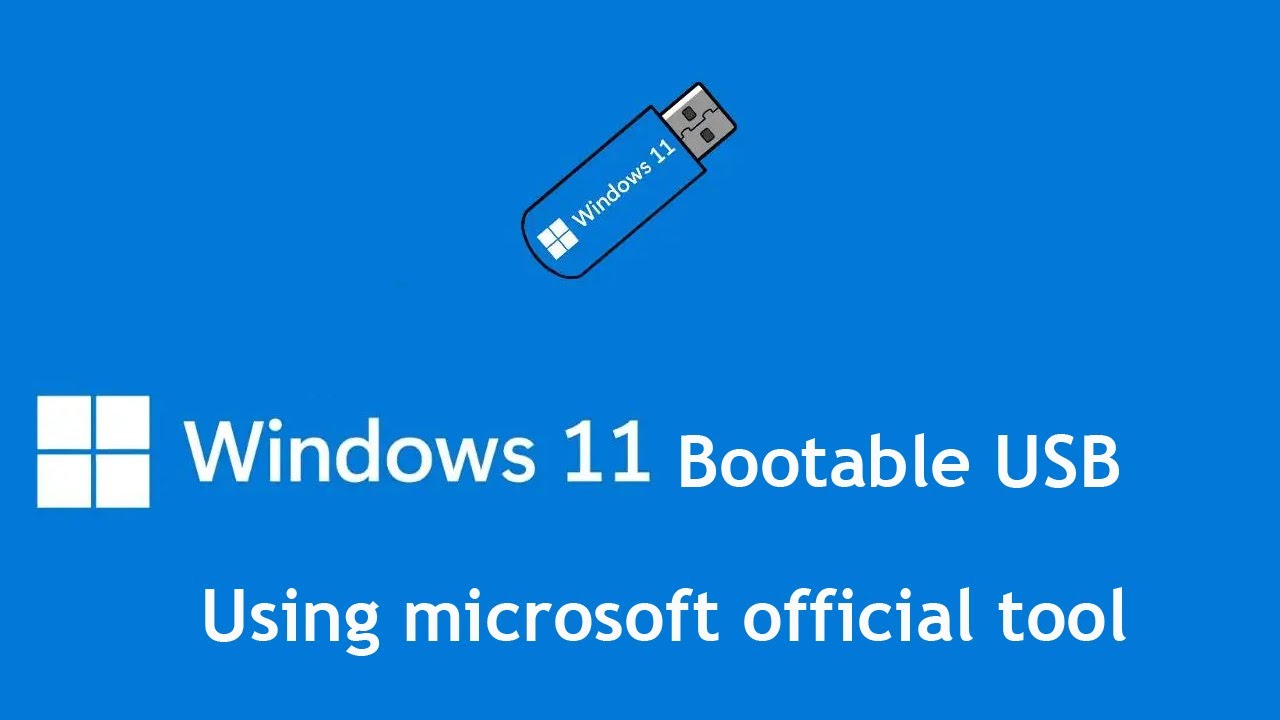
- Connect a USB drive: Connect a USB drive with at least 8GB of free space to your computer.
- Format the USB drive: The tool will prompt you to format the USB drive, erasing all existing data. Ensure you have backed up any important files before proceeding.
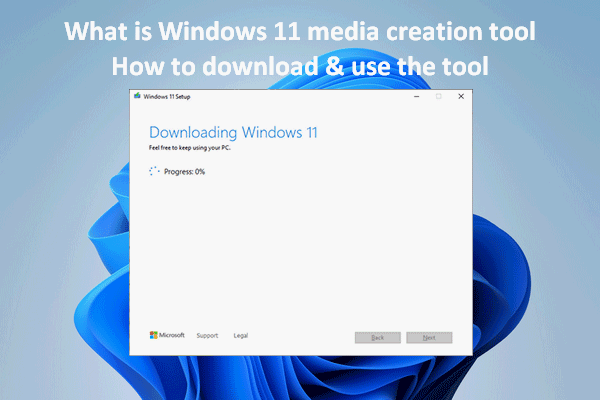
- Download and create the bootable media: The tool will download the necessary files and create the bootable USB drive. This process may take some time, depending on your internet connection speed.
- Verify the media: Once the process is complete, verify that the bootable USB drive has been created successfully.
Troubleshooting Common Issues
While the Windows 11 USB Media Creation Tool is generally reliable, users may encounter occasional issues. Here are some common problems and their solutions:
- Error messages during download: Ensure you have a stable internet connection and sufficient disk space. If the issue persists, try restarting your computer or using a different browser.
- USB drive not detected: Ensure the USB drive is properly connected and recognized by your computer. Try using a different USB port or USB drive.
- Error messages during creation: Ensure the USB drive is formatted correctly and has sufficient space. If the issue persists, try running the tool as administrator or using a different USB drive.
- Installation errors: If you encounter errors during the installation process, check the system requirements for Windows 11 and ensure your hardware meets the minimum specifications. Refer to the official Microsoft documentation for troubleshooting guides.
Frequently Asked Questions
Q: What are the system requirements for Windows 11?
A: Windows 11 has specific hardware requirements, including a processor with at least one core running at 1 GHz or faster, 4 GB of RAM, 64 GB of storage space, and a compatible graphics card. For a detailed list of requirements, consult the official Microsoft website.
Q: Can I use the USB media creation tool to install Windows 11 on a virtual machine?
A: Yes, the tool can be used to create a bootable USB drive for installing Windows 11 on a virtual machine. However, you may need to adjust the settings within the virtual machine to ensure compatibility.
Q: What happens to my existing files and programs during the installation process?
A: Performing a clean install will erase all data from the target drive. If you are upgrading from Windows 10, your personal files and settings will be preserved, but you may need to reinstall your programs.
Q: Can I use the USB media creation tool to create multiple bootable drives?
A: Yes, you can create multiple bootable USB drives using the tool. However, each drive will require a separate download of the Windows 11 installation files.
Tips for Successful Installation
- Back up your data: Before installing Windows 11, ensure you have backed up all important files and data.
- Check system requirements: Verify that your hardware meets the minimum system requirements for Windows 11.
- Disable antivirus software: Temporarily disable your antivirus software during the installation process to avoid potential conflicts.
- Disconnect external devices: Disconnect any unnecessary external devices, such as printers, scanners, or external hard drives, to prevent interference.
- Use a reliable USB drive: Choose a high-quality USB drive with sufficient storage space and ensure it is formatted correctly.
- Follow the on-screen instructions: Carefully read and follow the instructions provided by the tool and the installation wizard.
- Be patient: The installation process may take some time, depending on your system configuration and internet connection speed.
Conclusion
The Windows 11 USB Media Creation Tool is an indispensable resource for users seeking to install or upgrade to Windows 11. Its user-friendly interface, automatic download and creation process, and support for multiple languages make it a highly accessible and reliable tool. By following the steps outlined in this guide, users can confidently create bootable USB drives and enjoy the benefits of Windows 11 on their computers.


Closure
Thus, we hope this article has provided valuable insights into A Comprehensive Guide to the Windows 11 USB Media Creation Tool. We hope you find this article informative and beneficial. See you in our next article!