
Creating a Bootable Windows 11 USB Drive on a Mac: A Comprehensive Guide
Related Articles: Creating a Bootable Windows 11 USB Drive on a Mac: A Comprehensive Guide
Introduction
With enthusiasm, let’s navigate through the intriguing topic related to Creating a Bootable Windows 11 USB Drive on a Mac: A Comprehensive Guide. Let’s weave interesting information and offer fresh perspectives to the readers.
Table of Content
- 1 Related Articles: Creating a Bootable Windows 11 USB Drive on a Mac: A Comprehensive Guide
- 2 Introduction
- 3 Creating a Bootable Windows 11 USB Drive on a Mac: A Comprehensive Guide
- 3.1 Understanding the Process
- 3.2 Necessary Components
- 3.3 Step-by-Step Guide Using Rufus
- 3.4 Step-by-Step Guide Using Balena Etcher
- 3.5 FAQs
- 3.6 Tips
- 3.7 Conclusion
- 4 Closure
Creating a Bootable Windows 11 USB Drive on a Mac: A Comprehensive Guide

The ability to install Windows 11 on a Mac is a valuable option for users who require access to specific Windows applications or prefer the familiar Windows environment. This process necessitates the creation of a bootable USB drive containing the Windows 11 installation files. While Windows provides a dedicated tool for this purpose, it is not natively compatible with macOS. Fortunately, various third-party solutions exist, enabling users to create a bootable Windows 11 USB drive on their Mac. This guide will delve into the process, outlining the necessary steps and addressing common questions.
Understanding the Process
Creating a bootable Windows 11 USB drive on a Mac involves transferring the Windows 11 installation files to a USB drive and configuring it to boot from the drive. This process necessitates the use of a third-party tool, such as Rufus or Balena Etcher, which can handle the formatting and file transfer. These tools provide a user-friendly interface, simplifying the process and ensuring proper configuration.
Necessary Components
Before embarking on the process, ensure you have the following:
- A Windows 11 ISO File: This file contains the installation files for Windows 11. It can be downloaded directly from Microsoft’s website.
- A USB Drive: A USB drive with at least 8GB of storage space is required. Ensure the drive is empty, as its contents will be erased during the process.
- A Mac Computer: A Mac computer running macOS is necessary to execute the creation process.
- A Third-Party Tool: A tool like Rufus or Balena Etcher is essential for creating the bootable USB drive.
Step-by-Step Guide Using Rufus
Rufus is a popular open-source tool renowned for its simplicity and effectiveness. The following steps outline the process using Rufus:
- Download and Install Rufus: Download the latest version of Rufus from the official website and install it on your Mac.
- Download the Windows 11 ISO File: Download the Windows 11 ISO file from Microsoft’s website.
- Connect the USB Drive: Connect the USB drive to your Mac and ensure it is recognized by the system.
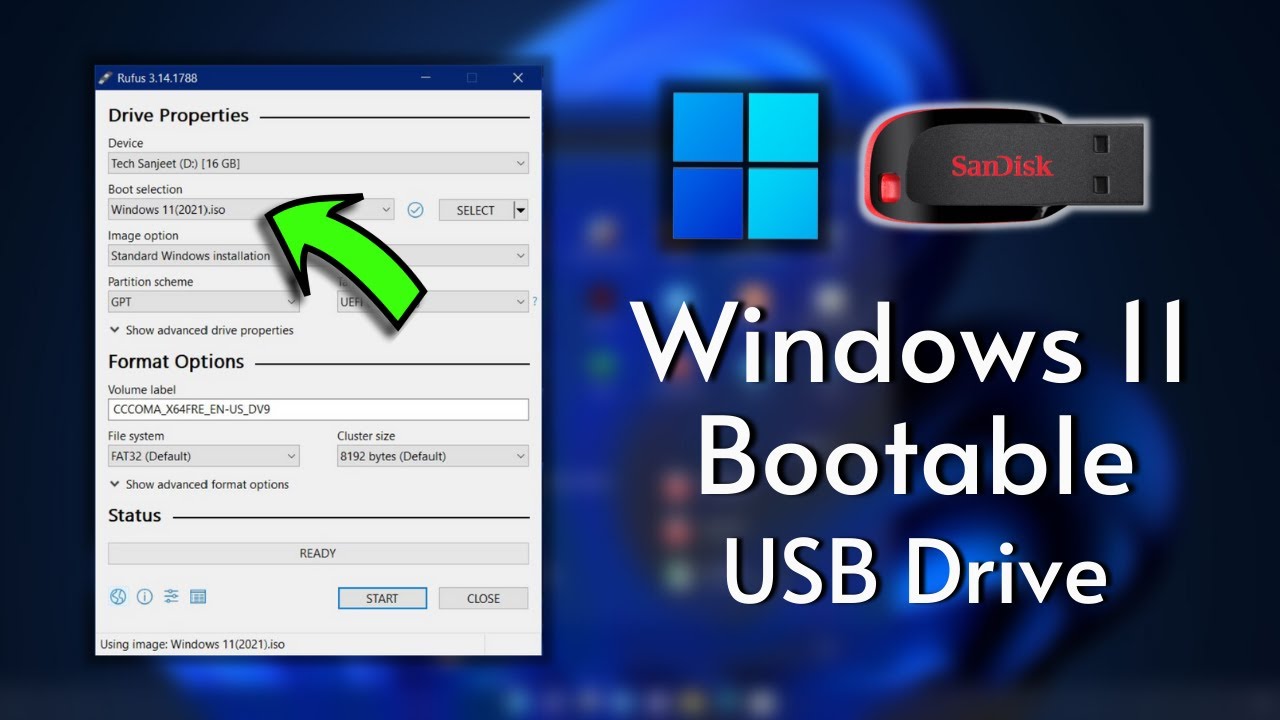
- Launch Rufus: Open Rufus and select the USB drive from the "Device" dropdown menu.
- Select the ISO File: Click on the "SELECT" button next to the "BOOT SELECTION" option and choose the Windows 11 ISO file.
- Configure Boot Options: Under "BOOT SELECTION," choose "FreeDOS" or "Windows 11" as the boot option.
- Format the USB Drive: Select the "FAT32" file system for compatibility with both Windows and macOS.
- Start the Process: Click on the "START" button to initiate the process.
- Wait for Completion: Allow Rufus to complete the process. This may take some time depending on the size of the ISO file and the speed of your computer.
Step-by-Step Guide Using Balena Etcher
Balena Etcher is another popular tool known for its intuitive interface and reliability. The process using Balena Etcher is as follows:
- Download and Install Balena Etcher: Download the latest version of Balena Etcher from the official website and install it on your Mac.
- Download the Windows 11 ISO File: Download the Windows 11 ISO file from Microsoft’s website.
- Connect the USB Drive: Connect the USB drive to your Mac and ensure it is recognized by the system.
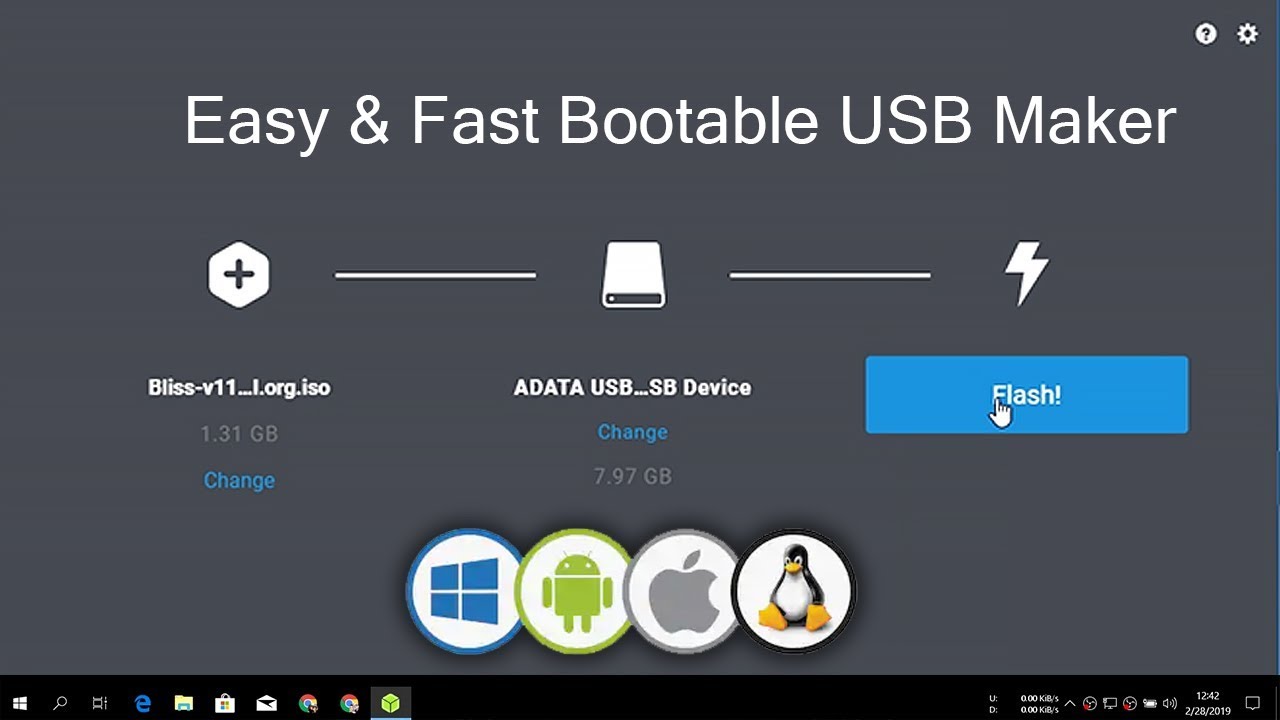
- Launch Balena Etcher: Open Balena Etcher and select the Windows 11 ISO file by clicking on the "Select Image" button.
- Select the USB Drive: Click on the "Select Drive" button and choose the USB drive from the list.
- Start the Process: Click on the "Flash!" button to initiate the process.
- Wait for Completion: Allow Balena Etcher to complete the process. This may take some time depending on the size of the ISO file and the speed of your computer.
FAQs
Q: Can I use a Mac to install Windows 11 on a PC?
A: Yes, you can use a Mac to create a bootable USB drive containing the Windows 11 installation files. This drive can then be used to install Windows 11 on a PC.
Q: What happens to the data on my USB drive?
A: The process of creating a bootable USB drive erases all data on the drive. Ensure you have backed up any important files before proceeding.
Q: What are the system requirements for Windows 11?
A: Windows 11 has specific system requirements, including a compatible processor, RAM, storage space, and graphics card. Refer to Microsoft’s official website for detailed system requirements.
Q: Can I use a different tool to create a bootable USB drive?
A: While Rufus and Balena Etcher are popular options, other tools like UNetbootin and WinUSB are also available. However, these tools may have different functionalities and compatibility.
Q: Can I create a bootable USB drive without an ISO file?
A: Creating a bootable USB drive without an ISO file requires using a different method, such as downloading a Windows 11 installer directly from Microsoft’s website. This method involves a more complex process and may require additional steps.
Tips
- Use a reliable USB drive: Ensure the USB drive is of good quality and has sufficient storage space to avoid errors during the process.
- Back up your data: Always back up important files on your USB drive before formatting it.
- Download the latest versions: Keep your third-party tool and Windows 11 ISO file up-to-date for optimal performance and compatibility.
- Check for errors: After creating the bootable USB drive, verify its functionality by attempting to boot from it on the target PC.
- Refer to official documentation: For detailed instructions and troubleshooting tips, consult the official documentation of the third-party tool you are using.
Conclusion
Creating a bootable Windows 11 USB drive on a Mac provides users with a convenient way to install Windows 11 on a PC. By following the steps outlined in this guide and utilizing reliable third-party tools, users can successfully create a bootable USB drive and proceed with the installation process. Remember to back up your data, download the latest versions, and consult official documentation for any further assistance. The process is straightforward and accessible, empowering Mac users to seamlessly install Windows 11 on their preferred devices.
Closure
Thus, we hope this article has provided valuable insights into Creating a Bootable Windows 11 USB Drive on a Mac: A Comprehensive Guide. We appreciate your attention to our article. See you in our next article!