
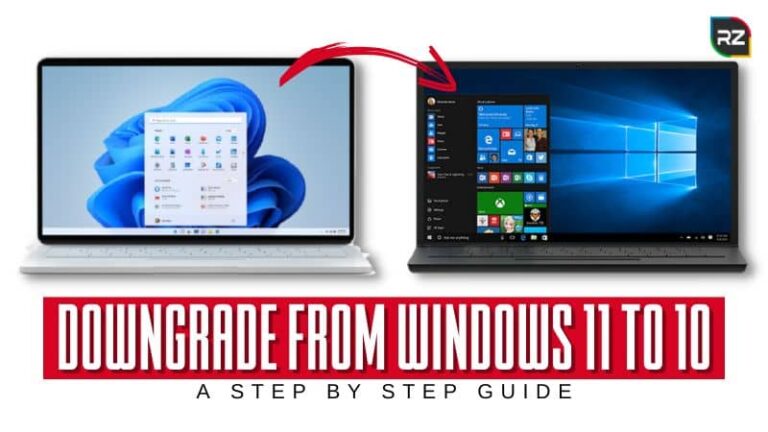
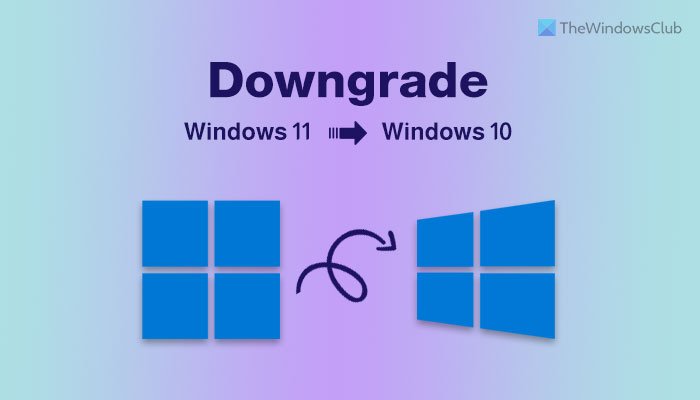
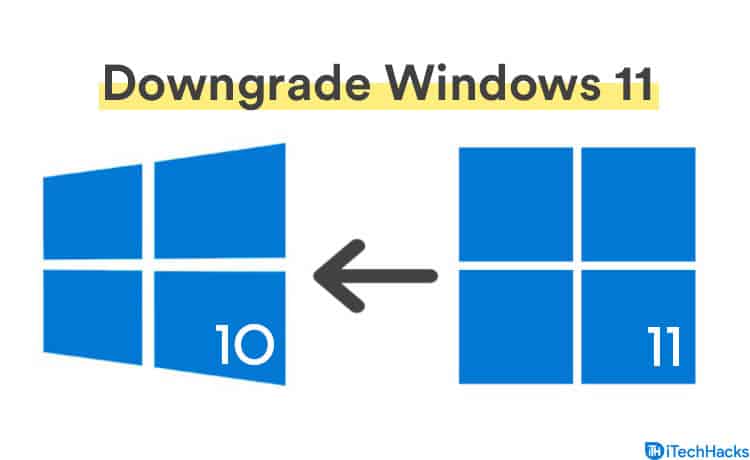
Navigating the Path Back: A Comprehensive Guide to Downgrading from Windows 11 to Windows 10
Related Articles: Navigating the Path Back: A Comprehensive Guide to Downgrading from Windows 11 to Windows 10
Introduction
With enthusiasm, let’s navigate through the intriguing topic related to Navigating the Path Back: A Comprehensive Guide to Downgrading from Windows 11 to Windows 10. Let’s weave interesting information and offer fresh perspectives to the readers.
Table of Content
Navigating the Path Back: A Comprehensive Guide to Downgrading from Windows 11 to Windows 10
The allure of new features and a modern interface often draws users to upgrade their operating systems. However, the transition to Windows 11 has not been universally smooth. Some users have encountered compatibility issues, performance bottlenecks, or simply prefer the familiarity of Windows 10. This has led to a growing demand for a way to revert back to the previous operating system. While Microsoft does not officially provide a dedicated tool for downgrading from Windows 11 to Windows 10, there are several methods that users can employ to achieve this.
Understanding the Downgrade Process
Downgrading from Windows 11 to Windows 10 involves a series of steps that essentially roll back the system to a previous state. This process can be complex and requires careful planning and execution. It is crucial to understand that:
- Data Loss is Possible: Downgrading may result in the loss of data installed or modified after the upgrade to Windows 11. It is highly recommended to back up important files before proceeding.
- Software Compatibility: Some applications may not function properly after the downgrade. It is essential to verify compatibility with Windows 10 before proceeding.
- Drivers and Updates: Drivers and system updates installed for Windows 11 may not be compatible with Windows 10. It is crucial to ensure that the necessary drivers are available for Windows 10.
- System Requirements: The downgrade process requires the user to have a valid Windows 10 product key and ensure that their hardware meets the minimum system requirements for Windows 10.
Methods for Downgrading from Windows 11 to Windows 10
There are primarily three methods for downgrading from Windows 11 to Windows 10:
-
Using the Windows 10 Installation Media: This is the most common and recommended method for downgrading. It involves creating a bootable USB drive or DVD with the Windows 10 installation media and then performing a clean installation.
-
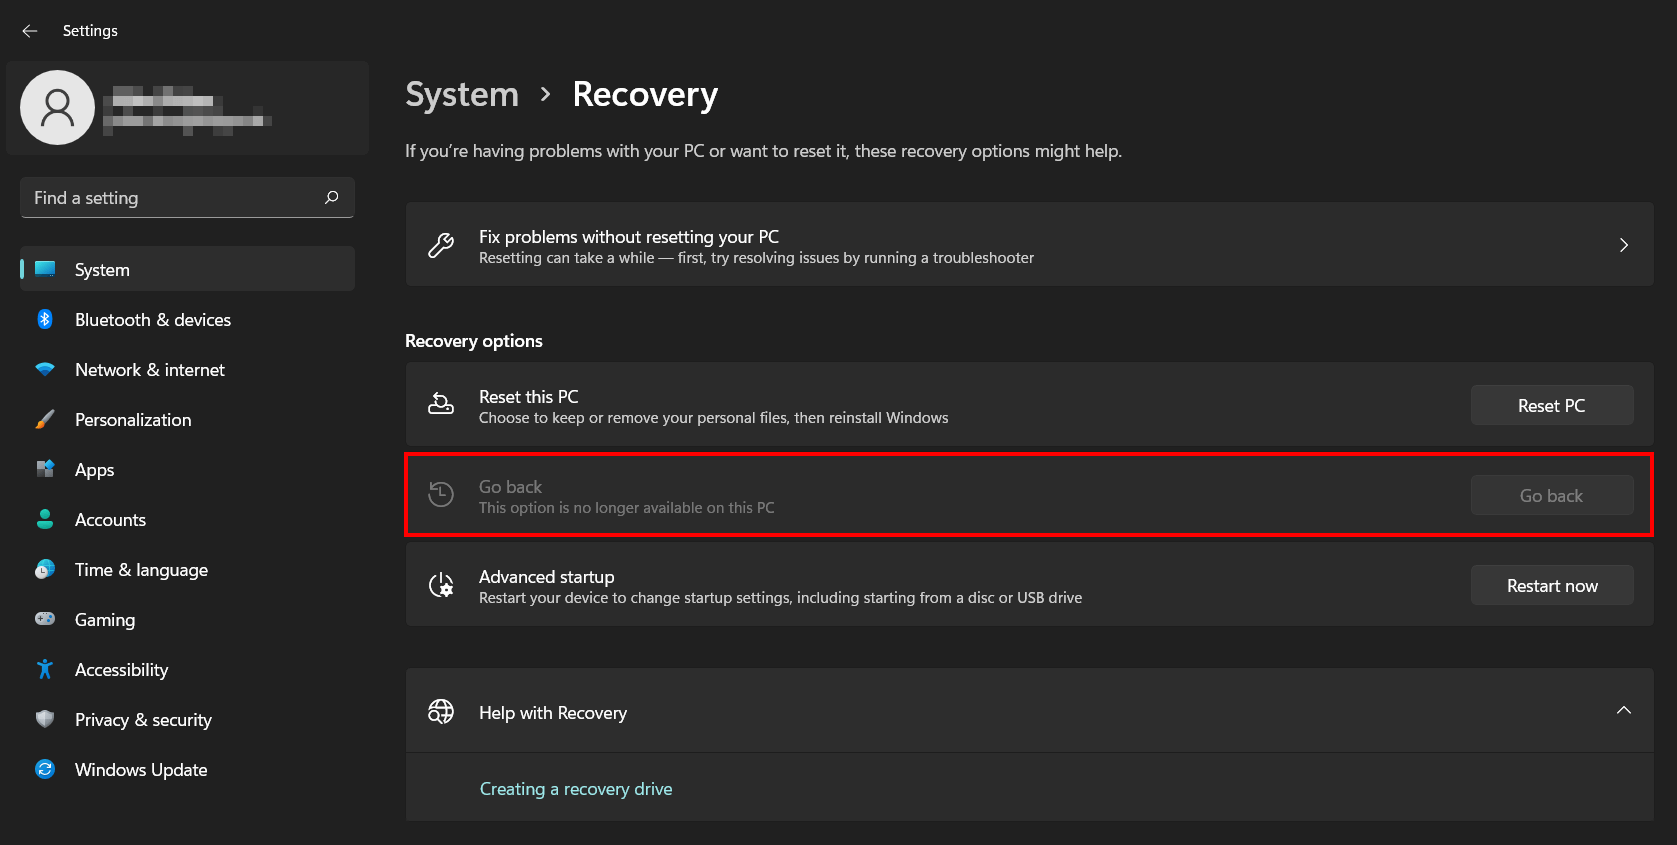
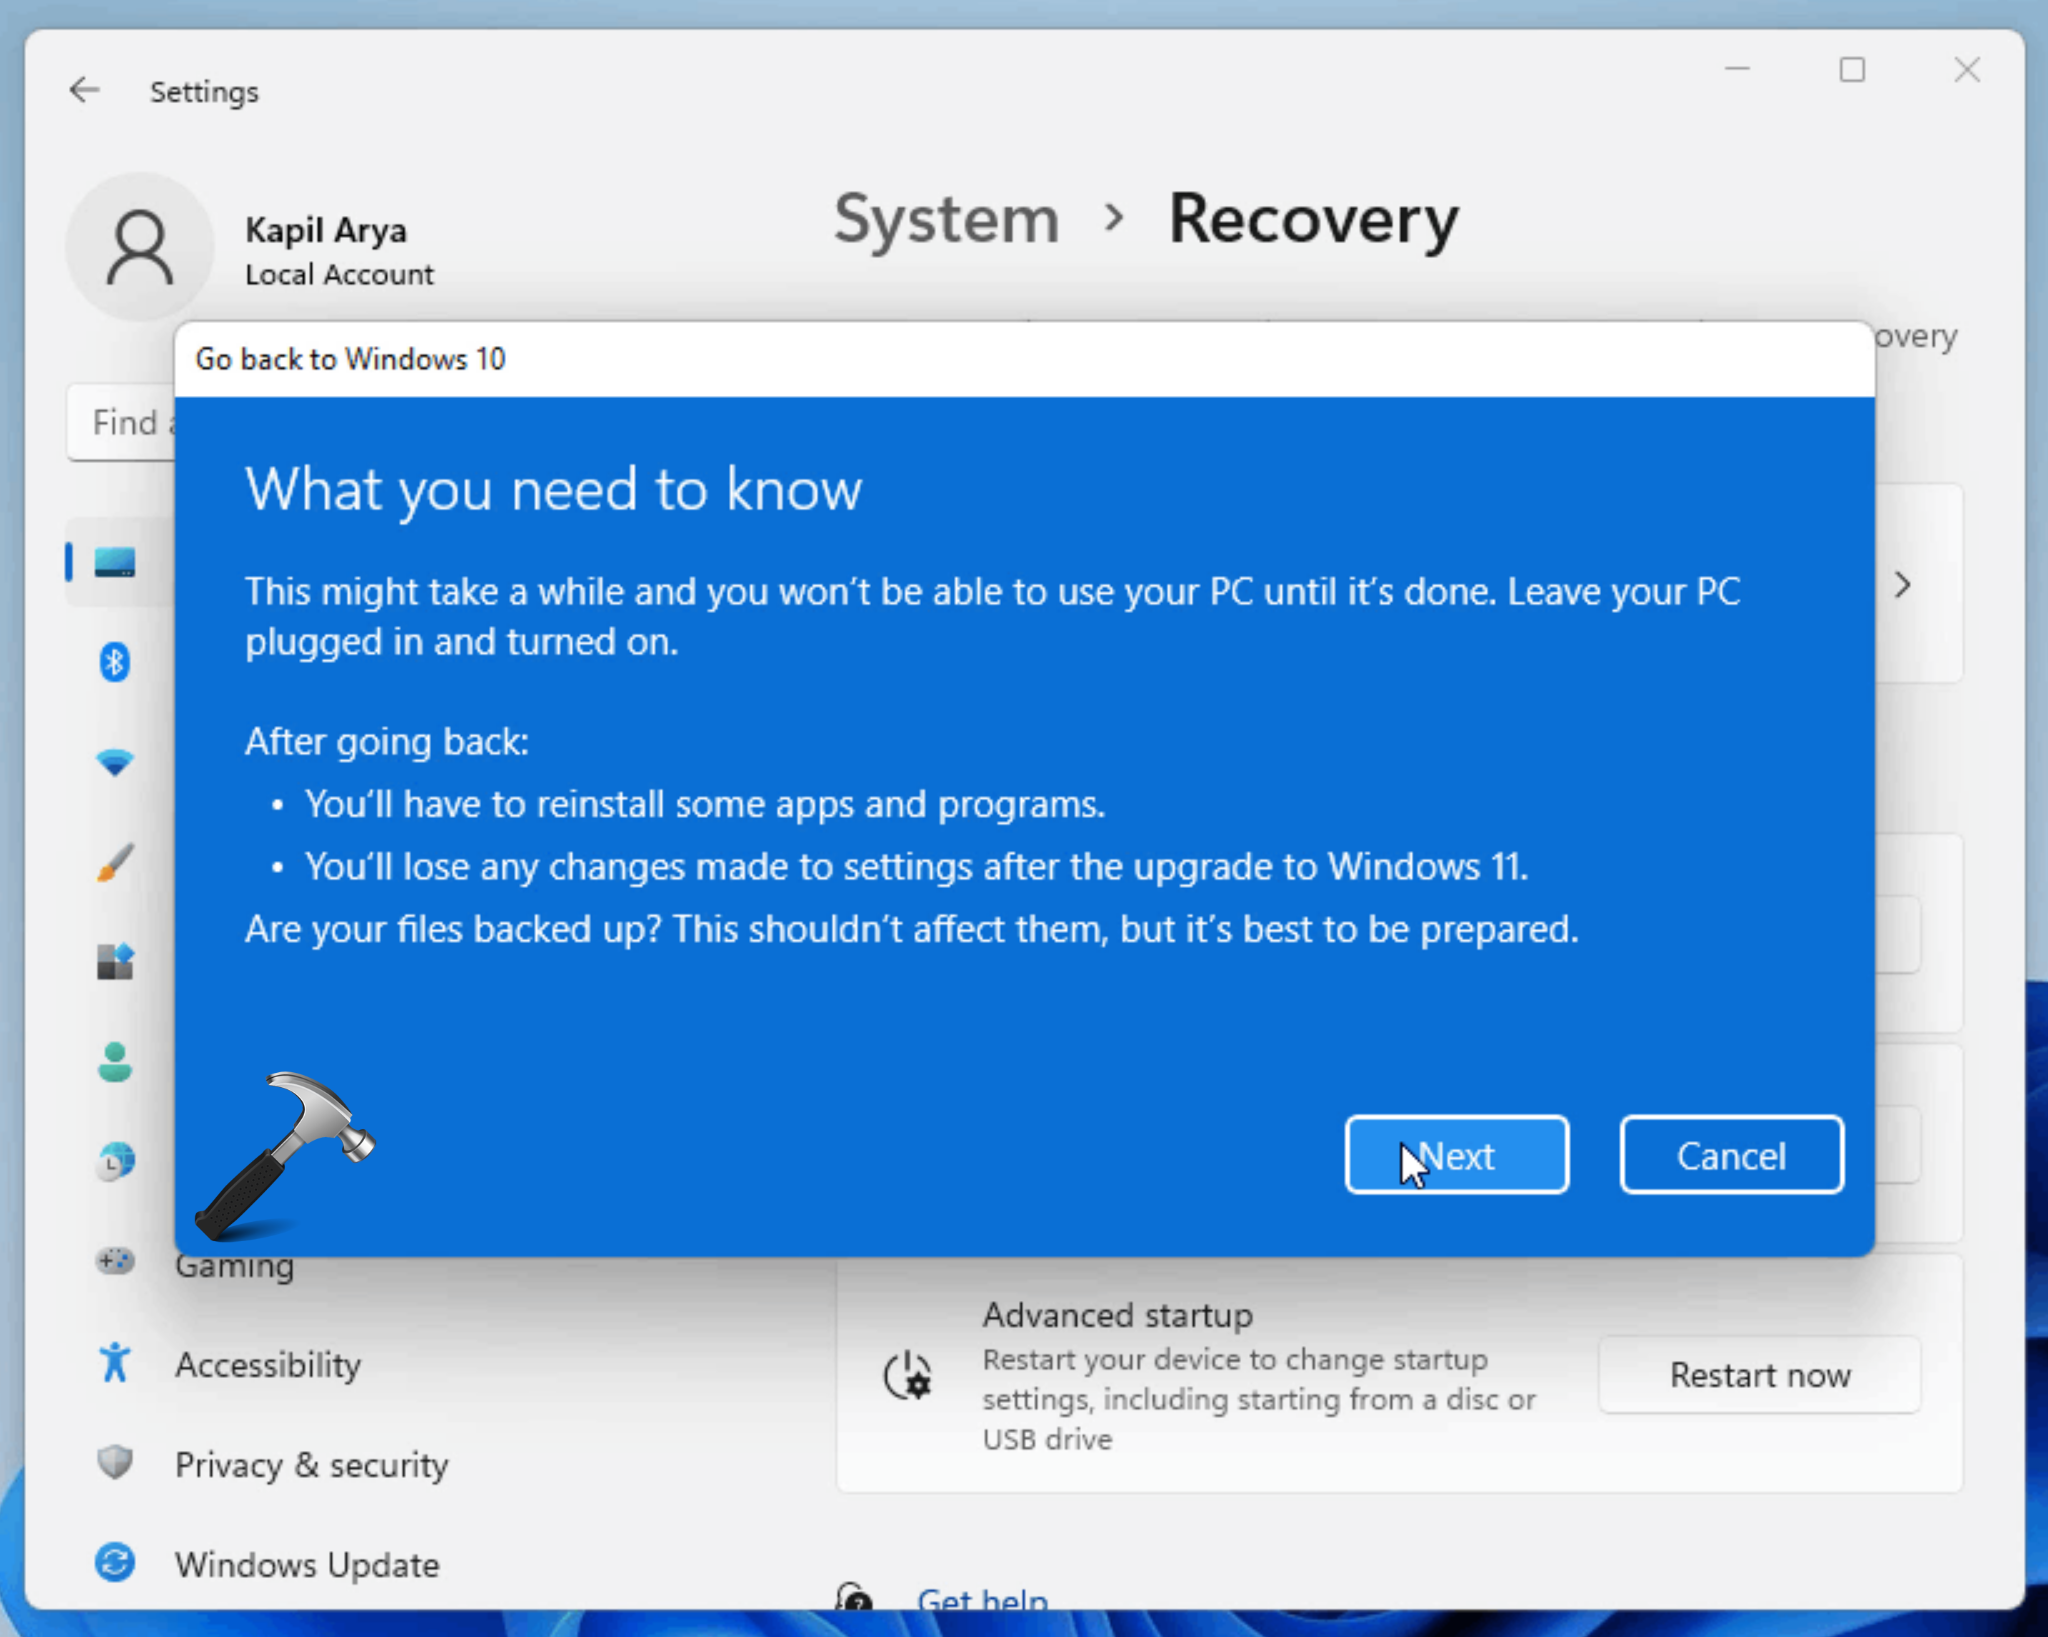
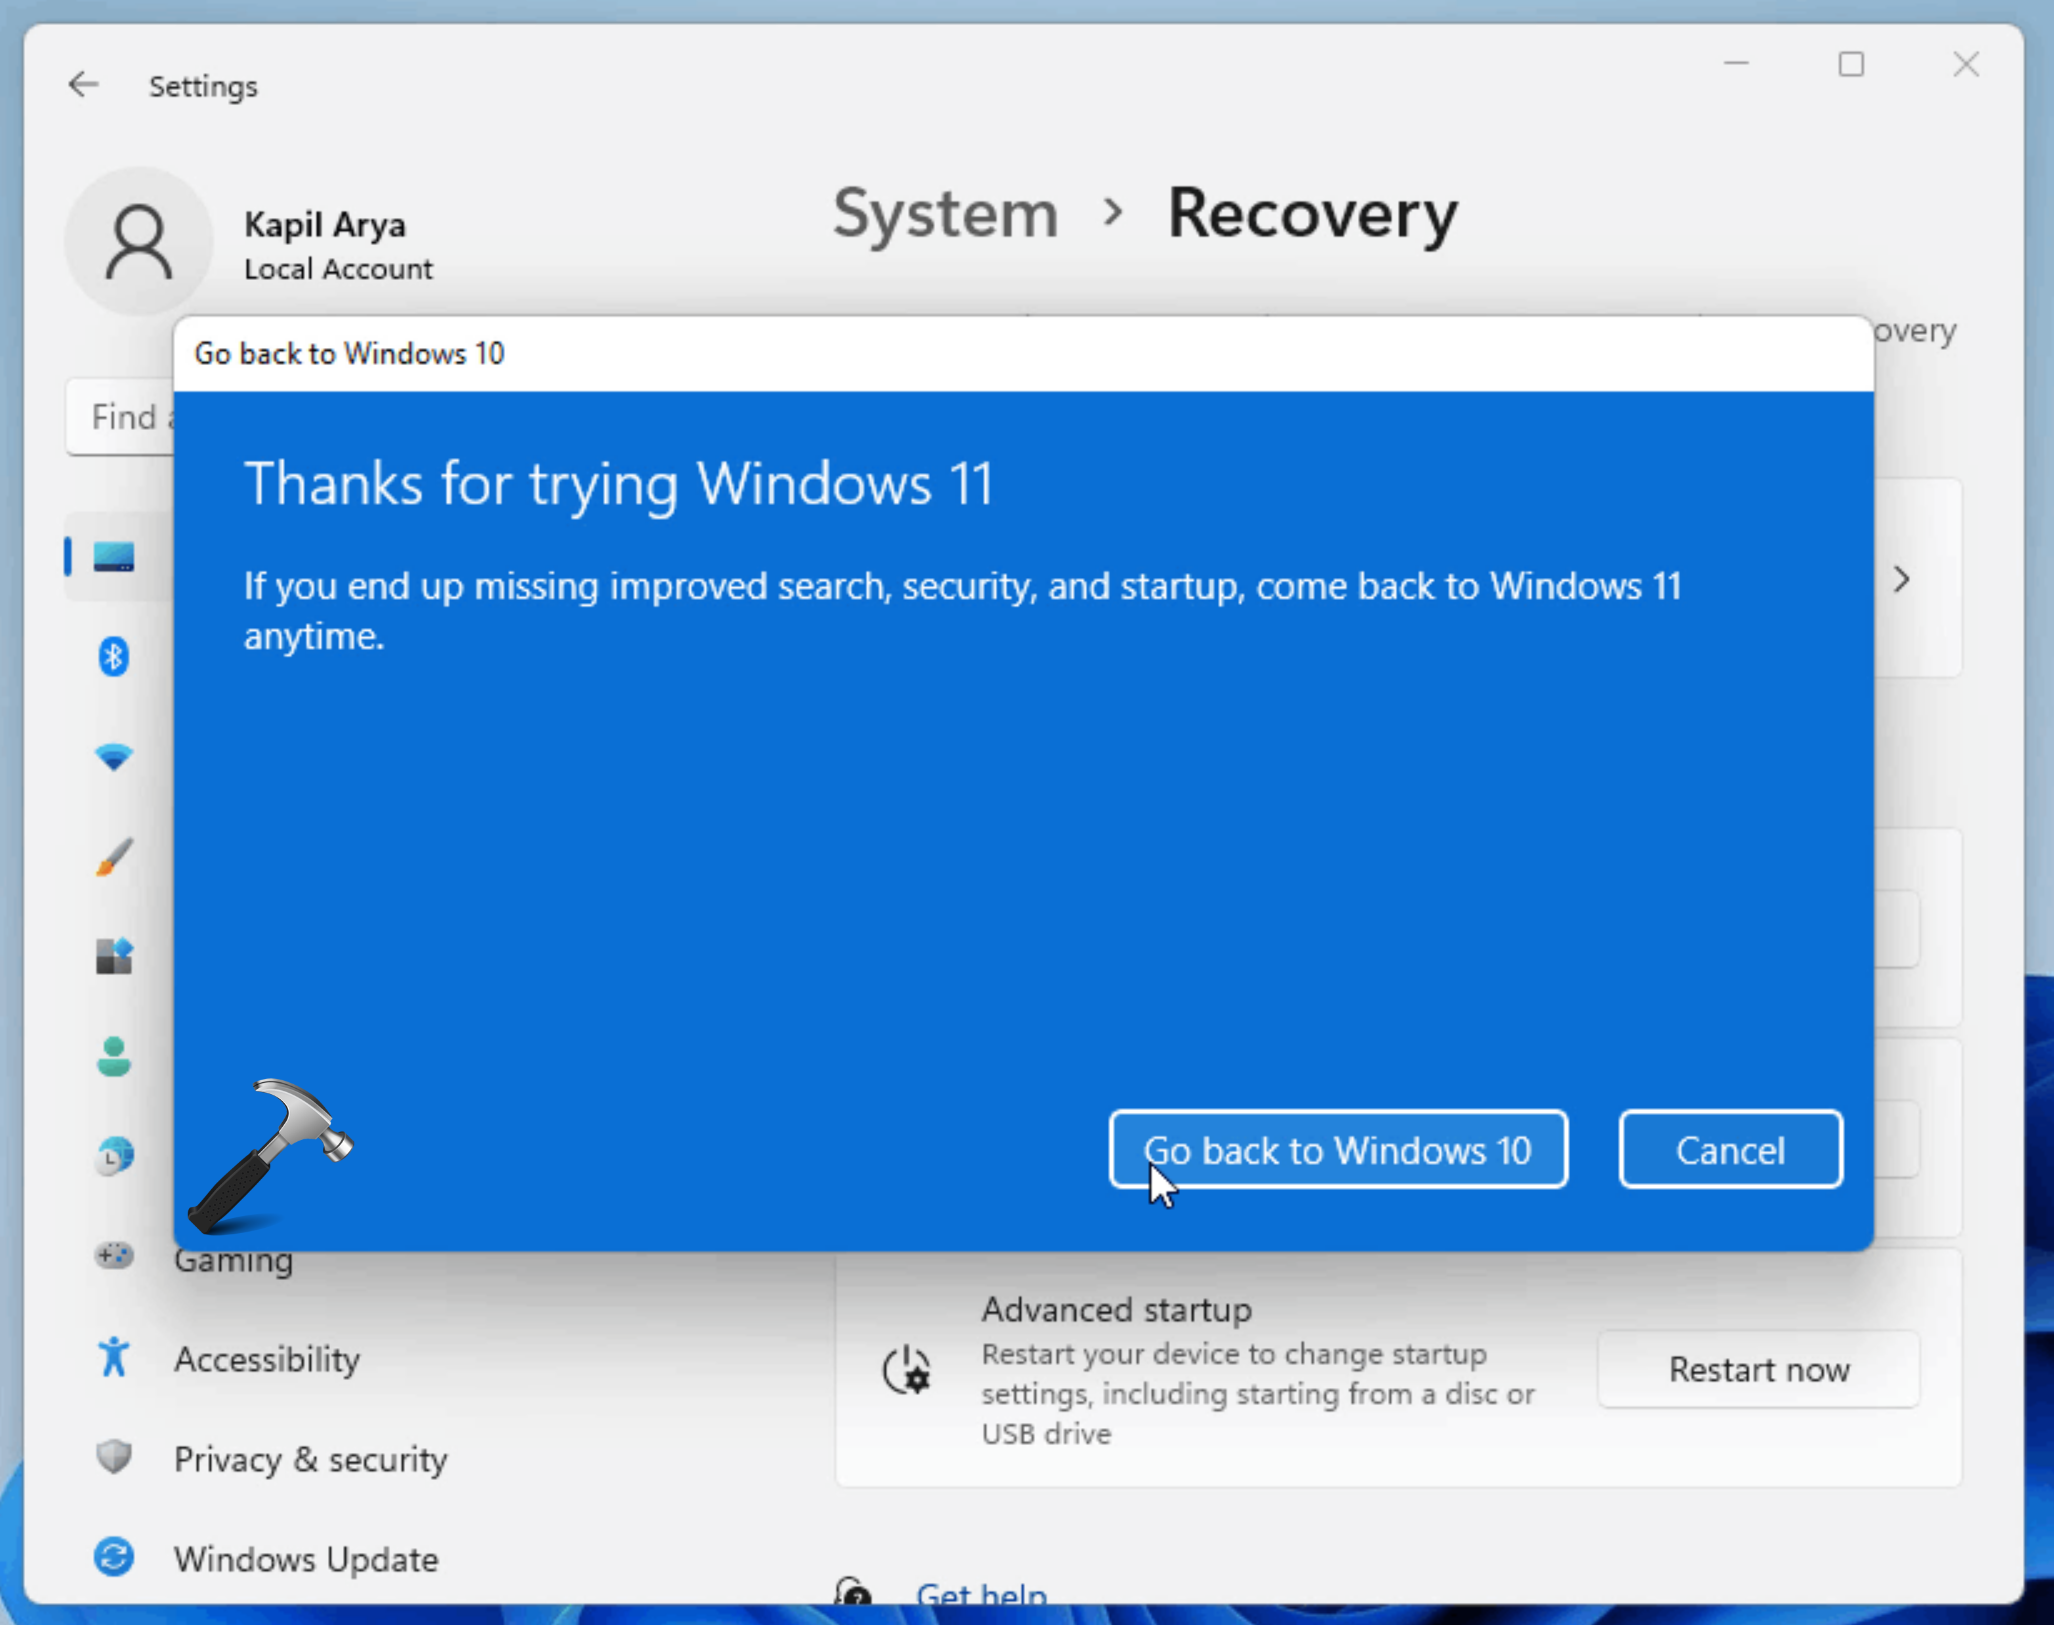
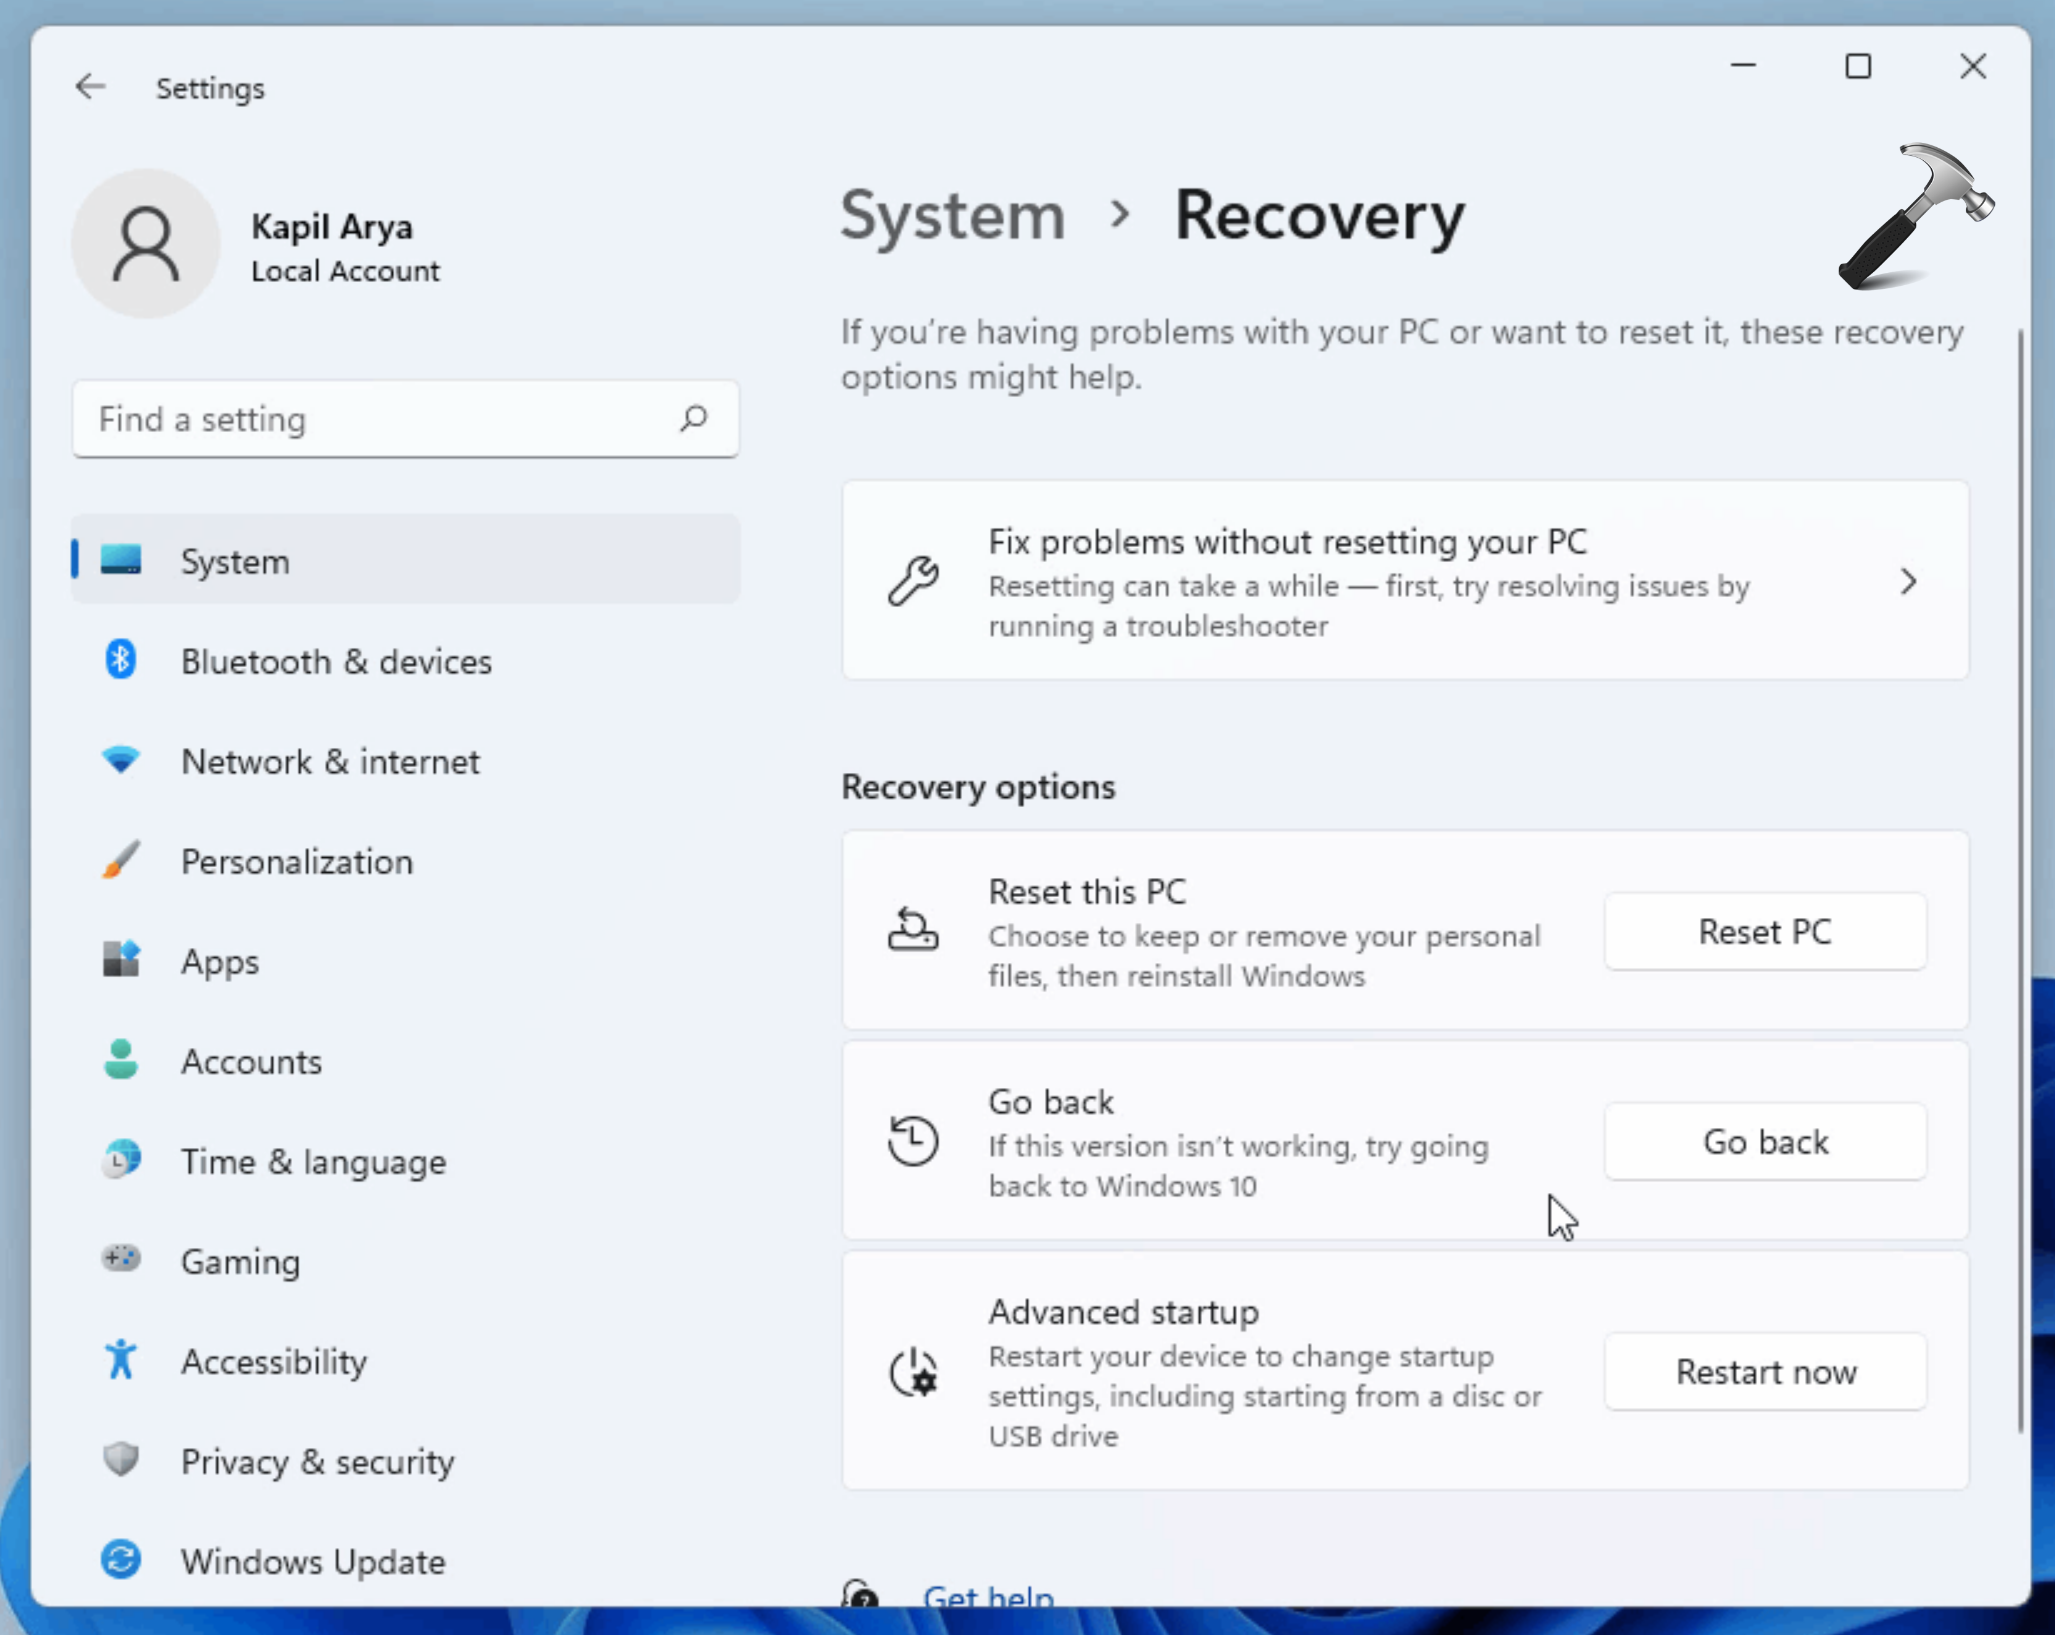
Utilizing the Recovery Environment: If a Windows 10 recovery image is available, users can access the recovery environment and restore their system to a previous state. This method is less common but can be effective if a recovery image is readily available.
-
Through System Restore: Windows 11 includes a system restore feature that allows users to revert their system to a previous point in time. However, this method is only effective if a restore point was created before upgrading to Windows 11.
Step-by-Step Guide to Downgrading using Windows 10 Installation Media
1. Create a Bootable USB Drive or DVD:
- Download the Windows 10 ISO file from Microsoft’s official website.
- Use a tool like Rufus or the Windows USB/DVD Download Tool to create a bootable USB drive or DVD with the ISO file.
2. Boot from the Installation Media:
- Restart your computer and access the BIOS settings.
- Change the boot order to prioritize the USB drive or DVD.
- Save the changes and exit the BIOS.
3. Install Windows 10:
- Follow the on-screen instructions to install Windows 10.
- Choose the "Custom" installation option and select the drive where Windows 11 is currently installed.
- Format the drive and proceed with the installation.
4. Activate Windows 10:
- Enter your valid Windows 10 product key during the installation process.
- If your Windows 10 product key is linked to your Microsoft account, it will be automatically activated after installation.
5. Install Drivers and Updates:
- After installing Windows 10, download and install the necessary drivers for your hardware.
- Update your system by installing the latest Windows 10 updates.
Important Considerations:
- Backup Your Data: Before proceeding with the downgrade, back up all important data to an external drive or cloud storage service.
- Check for Compatibility: Ensure that your hardware and software are compatible with Windows 10.
- Review System Requirements: Verify that your computer meets the minimum system requirements for Windows 10.
FAQs
Q1. What is the best method for downgrading from Windows 11 to Windows 10?
A1. Using the Windows 10 installation media is generally the most reliable and recommended method for downgrading.
Q2. Will I lose my data during the downgrade process?
A2. Yes, data installed or modified after the upgrade to Windows 11 may be lost during the downgrade process. Backing up data before proceeding is crucial.
Q3. Do I need a Windows 10 product key to downgrade?
A3. Yes, you need a valid Windows 10 product key to activate Windows 10 after the downgrade.
Q4. Can I downgrade without losing my personal files?
A4. It is not possible to downgrade without the potential for data loss. A backup is essential to ensure data safety.
Q5. What if my computer does not meet the Windows 10 system requirements?
A5. If your computer does not meet the Windows 10 system requirements, you may not be able to downgrade.
Q6. Can I upgrade back to Windows 11 after downgrading to Windows 10?
A6. Yes, you can upgrade back to Windows 11 after downgrading to Windows 10. However, you will need to download and install the Windows 11 upgrade again.
Q7. How do I access the Windows 10 recovery environment?
A7. Accessing the recovery environment typically involves restarting your computer and pressing a specific key (usually F8 or F11) during the boot process. The exact key may vary depending on your computer’s manufacturer.
Tips for a Smooth Downgrade
- Plan Ahead: Back up your data and verify software and hardware compatibility before starting the downgrade process.
- Use a Clean Installation: A clean installation of Windows 10 is generally more stable than a direct downgrade.
- Install Drivers: After installing Windows 10, ensure that you install the latest drivers for your hardware.
- Update Windows 10: Keep your Windows 10 installation up to date by installing the latest updates.
Conclusion
Downgrading from Windows 11 to Windows 10 can be a complex process, but it is achievable with careful planning and execution. While Microsoft does not provide a dedicated downgrade tool, users can leverage available methods such as using the Windows 10 installation media, the recovery environment, or system restore. By understanding the process, preparing for potential data loss, and following the steps outlined above, users can successfully transition back to Windows 10 and regain the familiarity and stability they desire.

![How to downgrade from windows 11 to windows 10 without losing data? [within 30 minutes] - Say Geeks](https://saygeeks.com/wp-content/uploads/2021/07/How-to-downgrade-from-windows-11-to-windows-10-without-losing-data1.jpg)
Closure
Thus, we hope this article has provided valuable insights into Navigating the Path Back: A Comprehensive Guide to Downgrading from Windows 11 to Windows 10. We hope you find this article informative and beneficial. See you in our next article!