
The Enigma of the Truncated Display: Addressing Screen Cut-Off Issues in Windows 11
Related Articles: The Enigma of the Truncated Display: Addressing Screen Cut-Off Issues in Windows 11
Introduction
In this auspicious occasion, we are delighted to delve into the intriguing topic related to The Enigma of the Truncated Display: Addressing Screen Cut-Off Issues in Windows 11. Let’s weave interesting information and offer fresh perspectives to the readers.
Table of Content
The Enigma of the Truncated Display: Addressing Screen Cut-Off Issues in Windows 11

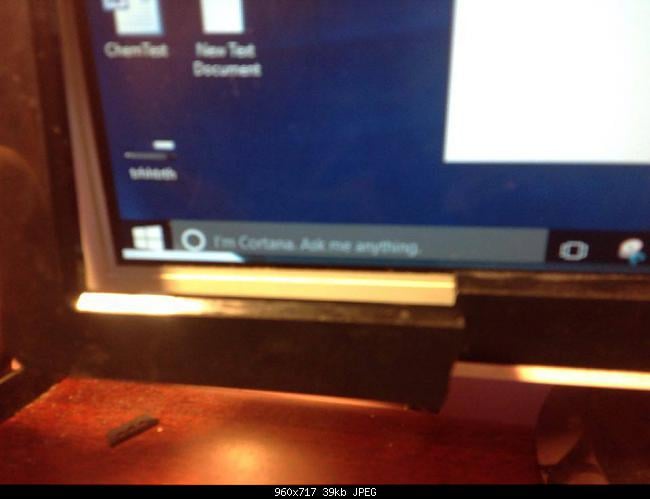
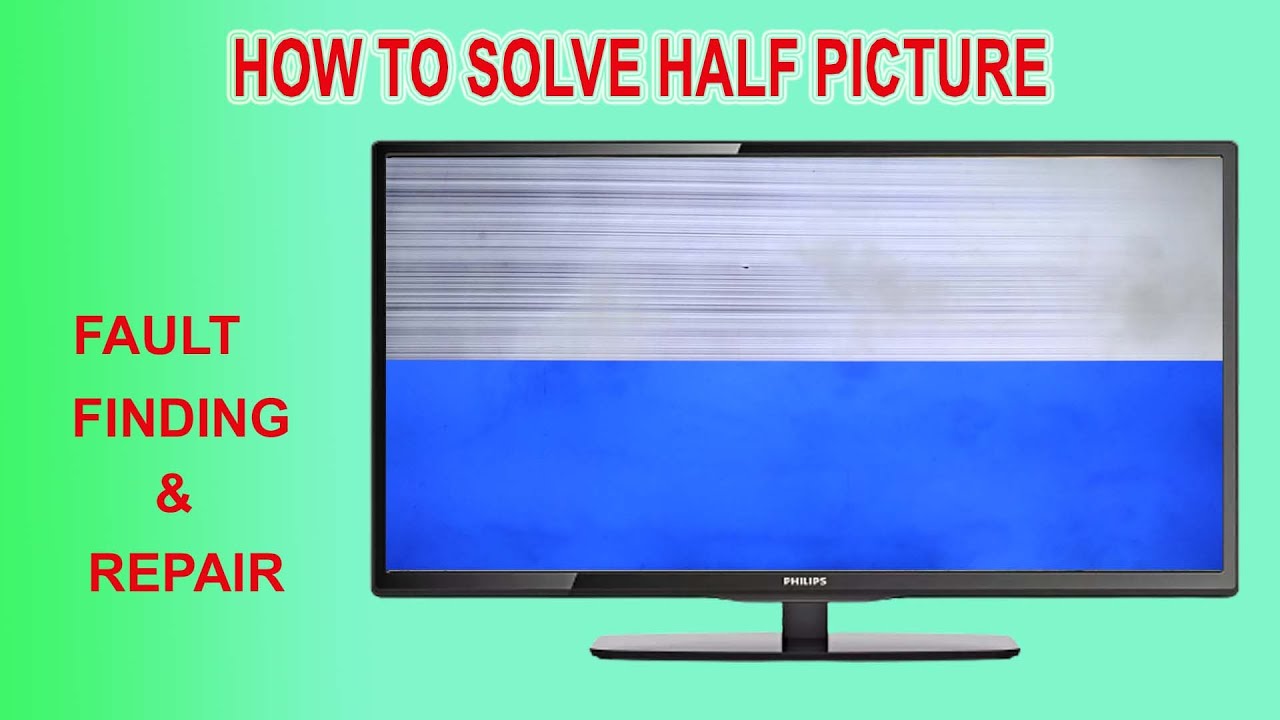
Windows 11, with its sleek design and improved features, has ushered in a new era of computing. However, like any complex software, it occasionally encounters unexpected glitches. One such issue, causing significant frustration among users, is the phenomenon of the truncated display. This occurs when the top portion of the screen appears to be cut off, leaving a portion of the desktop, taskbar, or even application windows inaccessible.
This seemingly simple visual anomaly can stem from a variety of underlying causes, ranging from simple driver conflicts to more complex hardware incompatibilities. Understanding these root causes is crucial for effectively diagnosing and resolving the problem.
Dissecting the Causes of a Truncated Display
The underlying causes of a truncated display in Windows 11 can be broadly categorized into two main areas:
1. Software-related Issues:
- Outdated or Incompatible Drivers: Graphics drivers play a pivotal role in screen rendering. Outdated or incompatible drivers can lead to display inconsistencies, including the truncation of the screen.
- Incorrect Display Resolution: Setting an incompatible or overly high resolution can strain the system’s capabilities, resulting in a truncated display.
- Conflicting Applications: Certain applications, particularly those with graphical intensive features, might interfere with the normal display functionality, leading to screen truncation.
- Corrupted System Files: Damage to critical system files can disrupt the proper functioning of the display, leading to a variety of visual anomalies, including truncation.
- Windows Update Errors: Faulty or incomplete Windows updates can introduce bugs or conflicts, potentially causing the screen to be cut off.
2. Hardware-related Issues:
- Faulty Display Cable: A damaged or loose display cable can disrupt the signal transmission, causing the screen to display incorrectly.
- Overheating Graphics Card: Excessive heat can damage the graphics card, leading to display malfunctions, including screen truncation.
- Defective Monitor: A malfunctioning monitor itself can cause display issues, resulting in a truncated display.
- Incorrect Monitor Settings: Incorrectly configured monitor settings, such as refresh rate or resolution, can lead to display inconsistencies.
Addressing the Truncated Display: A Step-by-Step Approach
The resolution process for a truncated display involves a methodical approach, systematically eliminating potential causes and implementing appropriate solutions.
1. Identify the Potential Culprit:
- Check for Recent Changes: Consider any recent software installations, updates, or hardware changes that might have preceded the issue.
- Monitor for Patterns: Observe if the truncation occurs consistently, or if it is triggered by specific actions like launching a particular application or changing the display settings.
2. Basic Troubleshooting:
- Restart Your Computer: A simple restart can often resolve temporary software glitches.
- Check Display Cable: Ensure the display cable is securely connected at both ends. Try using a different cable if available.
- Adjust Display Settings: Access the display settings and try changing the resolution to a lower setting or a known working resolution.
- Update Graphics Drivers: Download and install the latest graphics drivers from the manufacturer’s website. Ensure compatibility with your specific hardware model.
- Run System File Checker (SFC): This tool scans and repairs corrupted system files. Open Command Prompt as administrator and type "sfc /scannow".
- Perform a Clean Boot: This starts Windows with minimal drivers and applications, helping to isolate potential conflicts.
3. Advanced Troubleshooting:
- Uninstall Conflicting Applications: If a recently installed application coincides with the onset of the issue, consider uninstalling it.
- Check for Overheating: Monitor the temperature of your graphics card. If it is overheating, consider cleaning the cooling fans or adjusting the fan speed.
- Run Hardware Troubleshooter: Windows includes a built-in hardware troubleshooter that can identify and resolve potential hardware issues.
- Restore System to an Earlier Point: If the issue arose after a recent change, restoring your system to an earlier point can potentially revert the changes.
- Perform a Clean Installation of Windows: This is a last resort, but it can effectively resolve deep-seated software issues. However, it will erase all data from your hard drive, so ensure you have a backup.
4. Seeking Professional Assistance:
- Contact Manufacturer Support: If you suspect a hardware failure, contact the manufacturer of your monitor, graphics card, or other relevant hardware components.
- Consult a Technician: If the issue persists despite your efforts, consider seeking assistance from a qualified computer technician.
FAQs: Addressing Common Concerns
Q: Can I fix the truncated display issue without restarting my computer?
A: While a restart is often a quick fix, it’s not always necessary. The troubleshooting steps outlined above can be attempted without restarting, but a restart might be required to implement certain changes or for the system to recognize new drivers.
Q: My screen is only partially cut off. Does this change the approach?
A: The approach remains similar, but the specific solutions might vary. If the truncation is partial, it could indicate a problem with the scaling settings or a specific application.
Q: I’ve tried everything, but the issue persists. What are my options?
A: If all troubleshooting steps fail, consider seeking professional assistance from a computer technician or contacting the manufacturer of your hardware components.
Tips for Avoiding a Truncated Display in the Future:
- Keep Your Drivers Up to Date: Regularly check for and install the latest graphics drivers to ensure compatibility and optimal performance.
- Monitor System Temperature: Ensure your computer, especially the graphics card, is properly ventilated and does not overheat.
- Avoid Unnecessary Software Installations: Be cautious when installing new software, as it could introduce conflicts or incompatibilities.
- Create System Restore Points: Regularly create system restore points to allow for easy rollback in case of software issues.
Conclusion: Reclaiming Your Full Display
The truncated display issue in Windows 11 can be frustrating, but with a systematic approach and a bit of patience, it is often resolvable. By understanding the potential causes, implementing appropriate troubleshooting steps, and taking preventative measures, users can avoid this issue and enjoy a seamless and fully functional display experience. Remember, if all else fails, seeking professional assistance is always an option.


![Second Monitor Edges Cut Off [Solved] Mos Tech Tips](https://mostechtips.com/wp-content/uploads/2020/10/display_resolution-768x497.jpg)

Closure
Thus, we hope this article has provided valuable insights into The Enigma of the Truncated Display: Addressing Screen Cut-Off Issues in Windows 11. We hope you find this article informative and beneficial. See you in our next article!