
The Power of Portable Installation: A Comprehensive Guide to Windows 11 USB Drives
Related Articles: The Power of Portable Installation: A Comprehensive Guide to Windows 11 USB Drives
Introduction
With great pleasure, we will explore the intriguing topic related to The Power of Portable Installation: A Comprehensive Guide to Windows 11 USB Drives. Let’s weave interesting information and offer fresh perspectives to the readers.
Table of Content
The Power of Portable Installation: A Comprehensive Guide to Windows 11 USB Drives
The advent of USB drives has revolutionized the way we interact with technology. These small, portable devices offer a versatile platform for data storage, software distribution, and even operating system installation. For Windows users, a USB drive containing the Windows 11 installation files presents a powerful tool for a variety of purposes, from clean installations to system recovery.
Understanding the Significance of a Windows 11 USB Drive
A Windows 11 USB drive, often referred to as a bootable USB drive, essentially acts as a portable operating system installer. It contains all the necessary files to install Windows 11 on a compatible computer, making it a valuable resource for:
- Clean Installations: Creating a fresh Windows 11 installation on a new or existing computer, eliminating any existing software or data. This is particularly useful when encountering system issues or wanting to start with a clean slate.
- System Recovery: Restoring a computer to a working state after a system crash or data corruption. A bootable USB drive can be used to reinstall Windows 11 and potentially recover lost data.
- Upgrading Older Systems: Upgrading a computer running an older version of Windows to Windows 11 without needing an internet connection during the process. This can be particularly helpful for computers with limited internet access or unreliable connections.
- Dual Booting: Installing Windows 11 alongside an existing operating system, such as Windows 10 or a Linux distribution, allowing users to choose which operating system to boot into.
- Testing New Hardware: Creating a virtual environment to test new hardware or software before installing it on the primary operating system. This can help mitigate compatibility issues and ensure a smooth transition.
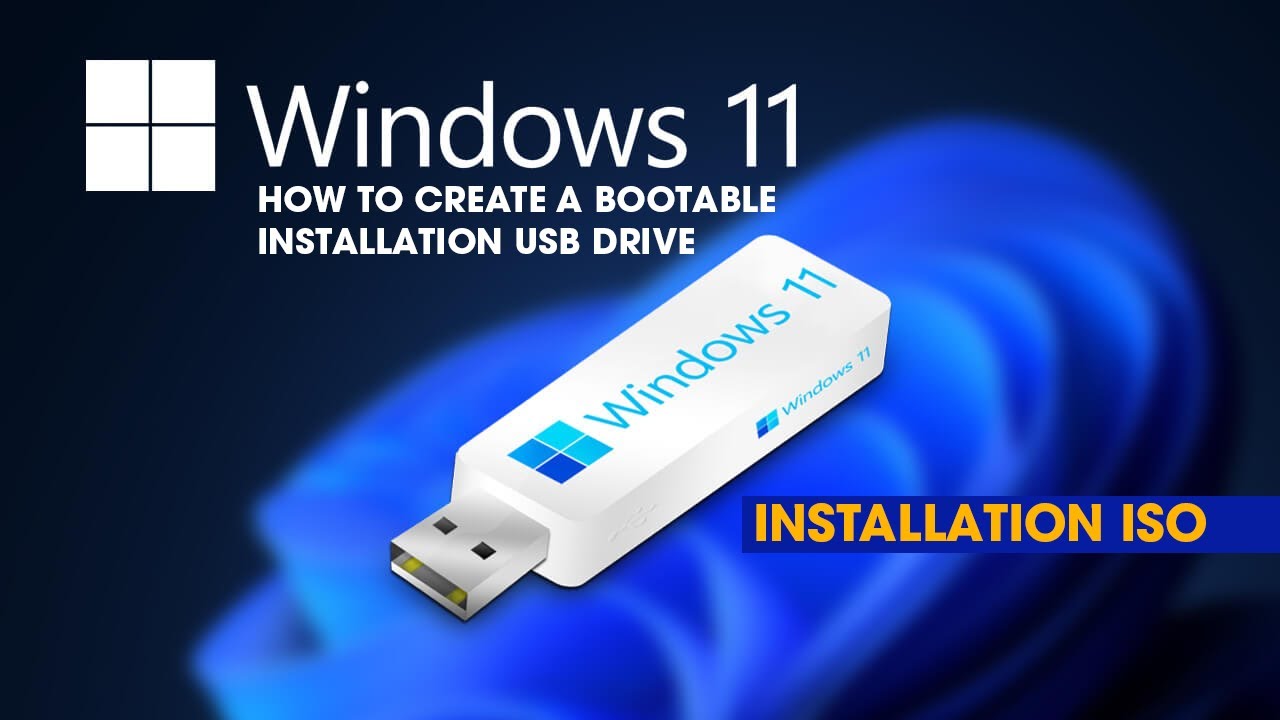
Creating a Bootable Windows 11 USB Drive: A Step-by-Step Guide
Creating a bootable USB drive requires a few simple steps:
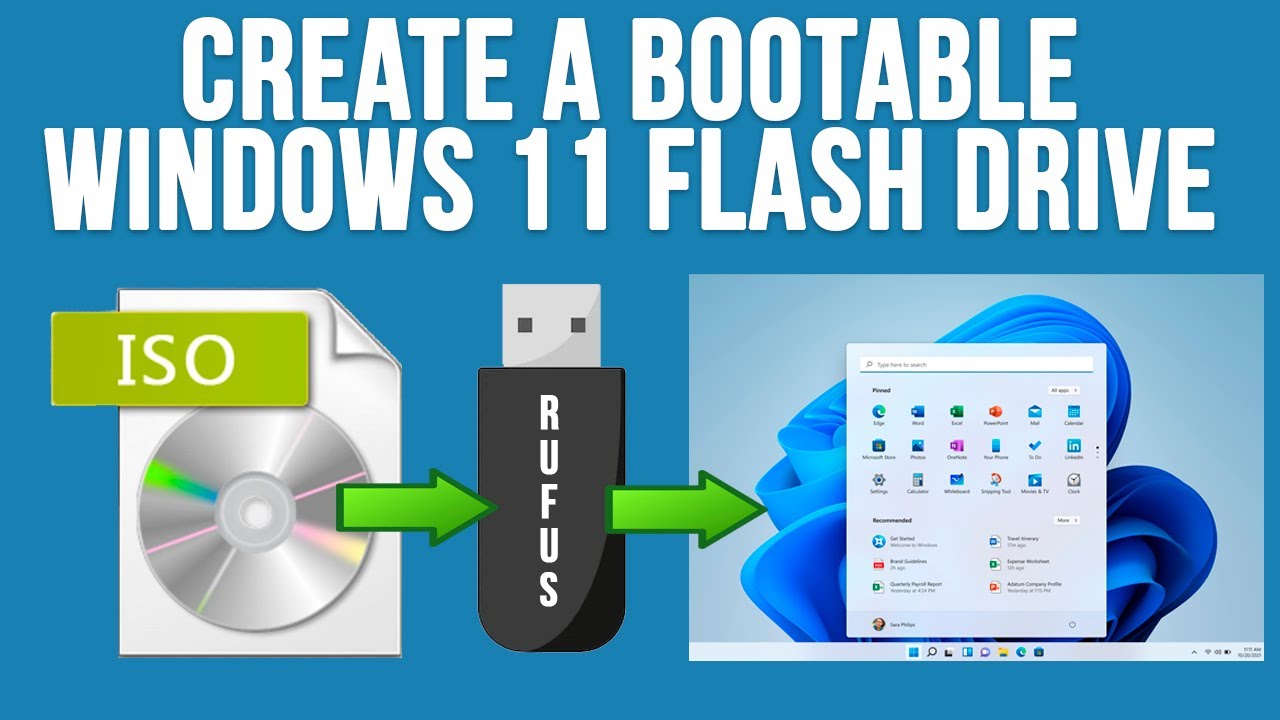
- Download the Windows 11 Installation Media: Obtain the Windows 11 ISO file from Microsoft’s official website. This file contains all the necessary installation files.
- Prepare the USB Drive: Format the USB drive to NTFS format. This ensures compatibility with the Windows 11 installation process.
- Use a USB Creation Tool: Utilize Microsoft’s Media Creation Tool or a third-party tool like Rufus or Balena Etcher to create the bootable USB drive. This involves selecting the downloaded ISO file and the target USB drive.
- Follow On-Screen Instructions: The tool will guide you through the process, creating the bootable USB drive with the necessary files for installing Windows 11.
Important Considerations for Creating a Bootable USB Drive:
- USB Drive Compatibility: Ensure the USB drive meets the minimum requirements for creating a bootable drive. Generally, a USB drive with at least 8GB of storage is recommended.
- Data Backup: Before formatting the USB drive, back up any important data stored on it, as the formatting process will erase all existing content.
- Verify the Bootable Drive: After creating the bootable drive, it’s essential to verify its functionality. Attempt to boot from the USB drive on a test computer to ensure it functions correctly.
Using the Windows 11 USB Drive for Installation:
- Boot from the USB Drive: Restart the computer and access the boot menu (usually by pressing a key like F12 or Esc during startup). Select the USB drive as the boot device.
- Follow the Installation Process: The Windows 11 setup will launch, guiding you through the installation process, including language selection, partition selection, and account creation.
- Install Drivers: After installing Windows 11, install the necessary drivers for your hardware components. These drivers ensure proper functionality for devices like graphics cards, network adapters, and sound cards.
FAQs about Windows 11 USB Drives:
Q: Can I use a USB drive to upgrade my current Windows version to Windows 11?
A: While you can use a USB drive to install Windows 11, it’s not the recommended method for upgrading. Microsoft recommends using the Windows Update feature within your existing operating system for the most seamless upgrade experience.
Q: Can I create a bootable USB drive from an existing Windows 11 installation?
A: Yes, you can create a bootable USB drive from an existing Windows 11 installation using tools like the Windows USB/DVD Download Tool. However, this method may not include the latest updates and drivers.
Q: How do I know if my USB drive is bootable?
A: You can verify the bootability of your USB drive by attempting to boot from it on a test computer. If the computer recognizes the USB drive as a bootable device, the process was successful.
Q: What are the minimum system requirements for installing Windows 11?
A: To install Windows 11, your computer needs to meet specific system requirements, including:
- Processor: 1 gigahertz (GHz) or faster with 2 or more cores on a compatible 64-bit processor or System on a Chip (SoC).
- RAM: 4 gigabytes (GB) of RAM.
- Storage: 64 GB or larger storage device.
- System Firmware: UEFI, Secure Boot capable.
- TPM: Trusted Platform Module (TPM) version 2.0.
- Graphics Card: Compatible with DirectX 12 or later with WDDM 2.x driver.
- Display: High Definition (720p) display, 9 inches or greater diagonally.
Tips for Using a Windows 11 USB Drive:
- Use a High-Quality USB Drive: Opt for a reputable brand with a reliable track record for data storage and durability.
- Back Up Your Data: Before installing Windows 11, back up your important data to an external hard drive or cloud storage service.
- Keep Your USB Drive Organized: Label the USB drive clearly and store it in a safe place to avoid accidental loss or damage.
- Check for Updates: Regularly check for updates to the Windows 11 installation files on the USB drive to ensure you have the latest version.
Conclusion
A Windows 11 USB drive provides a versatile tool for installing, recovering, and upgrading Windows 11 on compatible computers. Its portability and flexibility offer a convenient solution for various scenarios, from clean installations to system recovery. By understanding the significance, creation process, and potential uses of a Windows 11 USB drive, users can leverage this powerful tool to enhance their computing experience and ensure a smooth transition to Windows 11.

![Install Windows 11 to an External Drive [Portable Windows 11] - YouTube](https://i.ytimg.com/vi/FE8ymMWTLZg/maxresdefault.jpg)

Closure
Thus, we hope this article has provided valuable insights into The Power of Portable Installation: A Comprehensive Guide to Windows 11 USB Drives. We appreciate your attention to our article. See you in our next article!