
Troubleshooting Windows 11 Boot Issues with USB Drives: A Comprehensive Guide
Related Articles: Troubleshooting Windows 11 Boot Issues with USB Drives: A Comprehensive Guide
Introduction
With great pleasure, we will explore the intriguing topic related to Troubleshooting Windows 11 Boot Issues with USB Drives: A Comprehensive Guide. Let’s weave interesting information and offer fresh perspectives to the readers.
Table of Content
Troubleshooting Windows 11 Boot Issues with USB Drives: A Comprehensive Guide
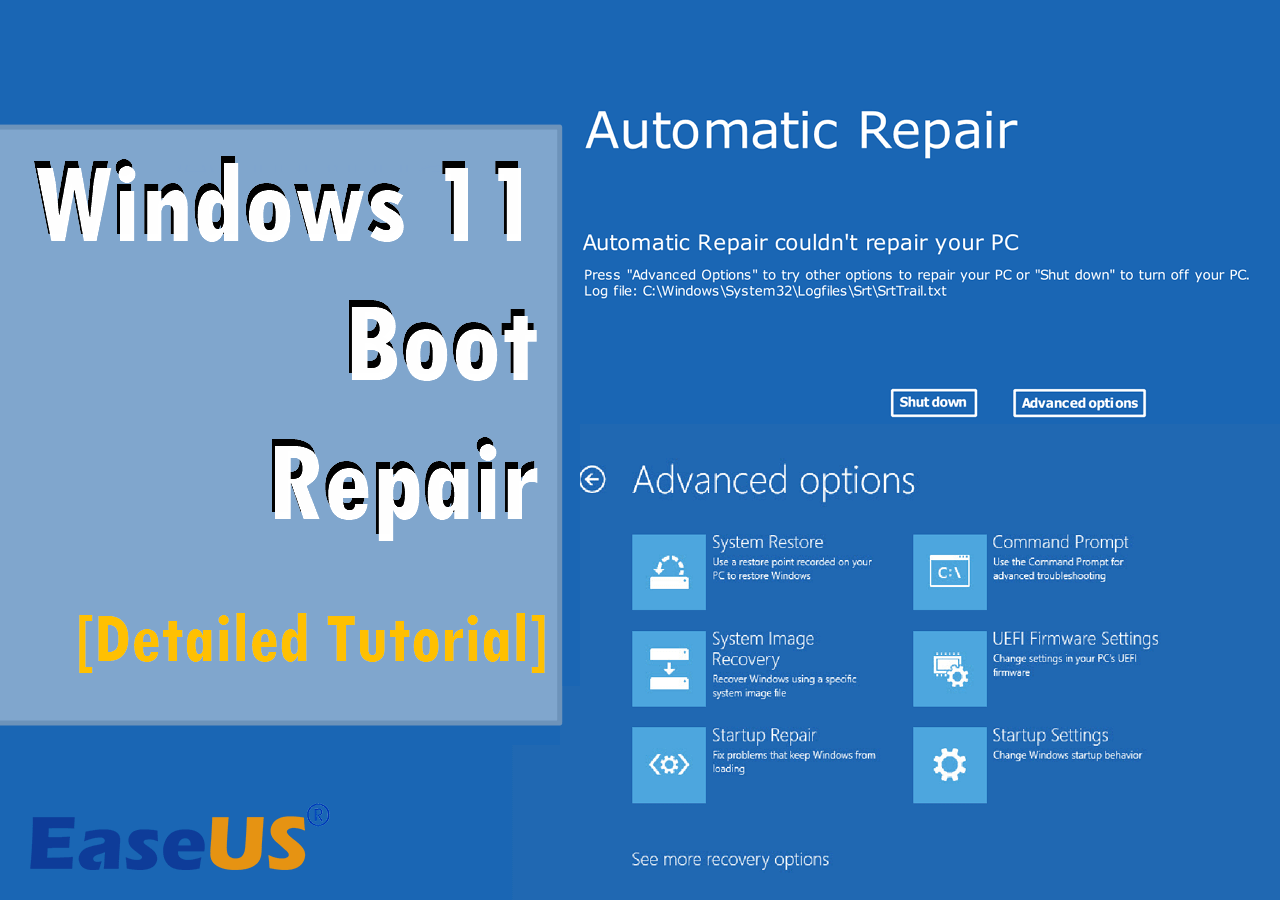
![How to Boot From USB on Windows 11 [Full Tutorial]](https://www.easeus.com/images/en/resource/windows-wont-boot-on-usb-1.png)
The inability to boot from a USB drive in Windows 11 can be a frustrating experience, especially when attempting to install a fresh operating system, repair corrupted files, or access important data. This guide will delve into the various reasons behind this issue and provide comprehensive solutions to help you overcome it.
Understanding the Problem: Why Windows 11 Won’t Boot from USB
The root cause of a Windows 11 system failing to boot from a USB drive can be multifaceted. It’s crucial to approach troubleshooting systematically, considering the following common culprits:
1. Boot Order Configuration: The most frequent reason for a system not recognizing a bootable USB drive is incorrect boot order settings in the BIOS/UEFI. The system may prioritize internal hard drives over external USB devices, preventing the USB drive from being recognized as the primary boot source.
2. USB Drive Compatibility: Not all USB drives are created equal. Some drives may lack the necessary boot capabilities or may be incompatible with the specific motherboard or system architecture. Ensuring the USB drive is compatible with the system’s USB standards (e.g., USB 3.0, USB-C) is essential.
3. USB Drive Formatting: The format of the USB drive plays a crucial role in its bootability. It should be formatted with a compatible file system (usually FAT32 or NTFS) and partitioned correctly. Incorrect partitioning or formatting can hinder the system’s ability to recognize the drive as bootable.
4. Corrupted Boot Files: If the boot files on the USB drive are corrupted or incomplete, the system will be unable to initiate the boot process. This could be due to errors during the USB drive creation process or physical damage to the drive.
5. BIOS/UEFI Settings: Certain BIOS/UEFI settings can impact boot behavior. Disabled legacy boot options, Secure Boot enabled, or specific boot modes (e.g., UEFI only) can prevent the system from recognizing a bootable USB drive.
6. Hardware Issues: In rare cases, hardware malfunctions, such as a faulty USB port or a malfunctioning motherboard, can hinder the system’s ability to detect and boot from a USB drive.
Troubleshooting Steps: Resolving the Boot Issue
Once the potential causes have been identified, a systematic approach to troubleshooting is vital:
1. Verify Boot Order:
- Access BIOS/UEFI: Restart the computer and press the designated key (usually F2, F10, or Del) to enter the BIOS/UEFI setup.
- Locate Boot Options: Navigate to the "Boot" or "Boot Order" section in the BIOS/UEFI menu.
- Prioritize USB Drive: Ensure that the USB drive is listed as the first boot device in the boot order. This will ensure that the system attempts to boot from the USB drive first.
2. Check USB Drive Compatibility:
- Confirm USB Standards: Verify that the USB drive is compatible with the system’s USB ports. Consult the motherboard specifications or USB port markings to ensure compatibility.
- Try Different USB Ports: If possible, try plugging the USB drive into a different USB port on the system. This can help rule out a faulty port as the cause of the issue.
3. Format and Partition the USB Drive:
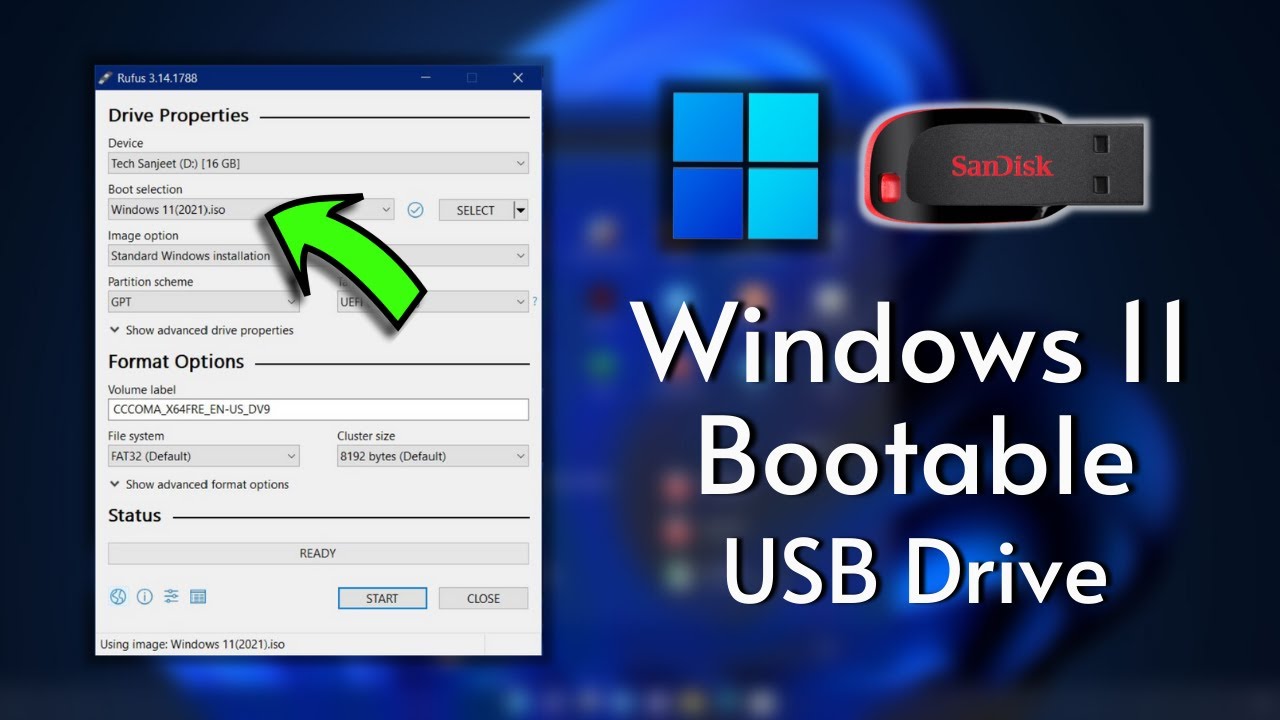
- Choose Appropriate Format: Use a tool like Rufus, Etcher, or the Windows Disk Management utility to format the USB drive with FAT32 or NTFS file systems.
- Create a Bootable Drive: Use a reliable tool like Rufus or Etcher to create a bootable USB drive from the Windows installation media (ISO file). These tools handle the partitioning and file system formatting automatically.
4. Verify Boot Files Integrity:
- Re-create the Bootable Drive: If you suspect corrupted boot files, recreate the bootable USB drive from the original Windows installation media.
- Check for Errors: Use a disk checking utility (e.g., chkdsk) on the USB drive to detect and repair any errors.
5. Adjust BIOS/UEFI Settings:
- Enable Legacy Boot: In the BIOS/UEFI settings, ensure that legacy boot options are enabled.
- Disable Secure Boot: If Secure Boot is enabled, temporarily disable it to see if it resolves the boot issue.
- Select Boot Mode: Choose the appropriate boot mode (UEFI or Legacy) that matches the USB drive’s boot mode.
6. Check for Hardware Issues:
- Test USB Ports: Try plugging the USB drive into a different computer or USB hub to test if the issue is with the system’s USB ports.
- Replace USB Drive: If the USB drive is damaged or faulty, try using a different USB drive to create the bootable media.
- Consult Manufacturer: If you suspect a hardware issue, contact the system manufacturer for support or consider a hardware repair.
FAQs: Addressing Common Concerns
Q: What if the USB drive is not showing up in the BIOS/UEFI boot menu?
A: This could be due to the drive not being recognized by the system. Check the USB drive’s compatibility and try plugging it into a different port. Ensure the drive is properly formatted and partitioned.
Q: Why is my USB drive not showing up as a bootable device in the BIOS/UEFI?
A: The boot order may be incorrect, or the USB drive may not be formatted correctly. Verify the boot order and ensure the drive is formatted with a compatible file system.
Q: What if the USB drive is recognized, but the system still won’t boot from it?
A: This could be due to corrupted boot files on the USB drive or incompatible BIOS/UEFI settings. Recreate the bootable drive and check the BIOS/UEFI settings for any restrictions.
Q: How can I create a bootable USB drive for Windows 11?
A: Use a reliable tool like Rufus, Etcher, or the Windows Media Creation Tool to create a bootable USB drive from the Windows 11 ISO file.
Tips for Preventing Future Issues:
- Use High-Quality USB Drives: Choose a reputable USB drive with sufficient storage capacity and good performance.
- Format Properly: Always format the USB drive with the correct file system and partitioning scheme before creating a bootable drive.
- Backup Boot Files: Regularly back up the boot files from the USB drive to prevent data loss in case of corruption.
- Update BIOS/UEFI: Ensure that the system’s BIOS/UEFI is updated to the latest version to improve compatibility and performance.
Conclusion:
The inability to boot from a USB drive in Windows 11 can be frustrating, but with a systematic approach to troubleshooting and a clear understanding of the potential causes, you can effectively resolve the issue. By verifying boot order, checking USB drive compatibility, and addressing BIOS/UEFI settings, you can ensure that your system boots from a USB drive successfully. Remember to use high-quality USB drives, format them correctly, and back up important files to prevent future issues.
![[4 Way] How to fix USB devices not recognized in Windows 11 / 10 - YouTube](https://i.ytimg.com/vi/JujjEKcfB5s/maxresdefault.jpg)

![How to Fix USB Ports Not Working in Windows 11[Solved] - YouTube](https://i.ytimg.com/vi/V9RX5Z8AxRU/maxresdefault.jpg)
Closure
Thus, we hope this article has provided valuable insights into Troubleshooting Windows 11 Boot Issues with USB Drives: A Comprehensive Guide. We thank you for taking the time to read this article. See you in our next article!