
Understanding Screenshot Storage in Windows 11: A Comprehensive Guide
Related Articles: Understanding Screenshot Storage in Windows 11: A Comprehensive Guide
Introduction
In this auspicious occasion, we are delighted to delve into the intriguing topic related to Understanding Screenshot Storage in Windows 11: A Comprehensive Guide. Let’s weave interesting information and offer fresh perspectives to the readers.
Table of Content
Understanding Screenshot Storage in Windows 11: A Comprehensive Guide
In the digital age, capturing visual information is a crucial task for users of all levels. Whether documenting a technical issue, sharing a captivating image, or simply preserving a memorable moment, screenshots serve as a vital tool. Windows 11, with its user-centric design, offers various methods for capturing screenshots, each with its own distinct functionality. However, a common question arises: Where do these screenshots end up? This article aims to provide a comprehensive understanding of screenshot storage in Windows 11, outlining the default locations, user-configurable options, and the importance of this knowledge for efficient digital workflow.
Default Screenshot Locations
Windows 11 employs two primary methods for capturing screenshots:
-
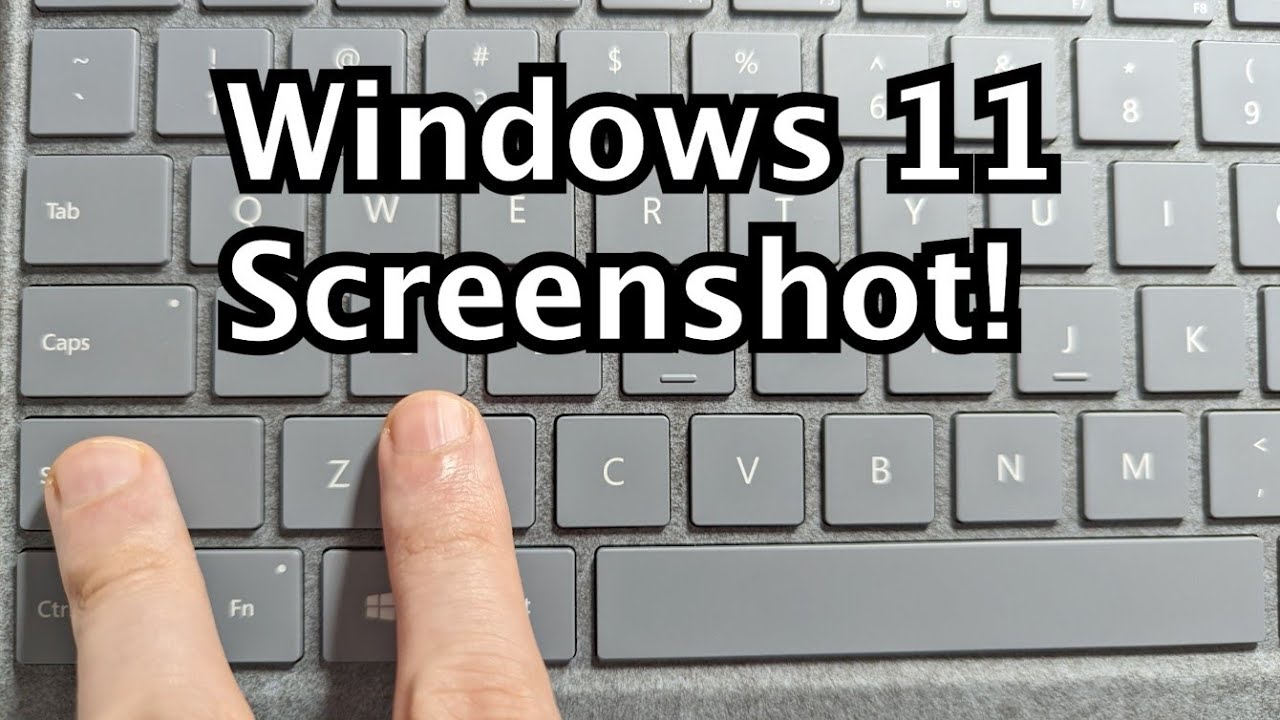
Print Screen Key (PrtScn): Pressing this key captures the entire screen, saving it to the clipboard. This method is ideal for quick, temporary captures, as the image is not saved to a file directly.
-
Windows Key + Shift + S: This combination activates the "Snipping Tool," a versatile tool that allows users to capture specific areas of the screen, select a window, or capture a free-form selection. These screenshots are saved as PNG files in the "Pictures" folder, specifically within a subfolder named "Screenshots."
The "Pictures" Folder: The Heart of Screenshot Storage
The "Pictures" folder serves as the default location for screenshots captured using the "Snipping Tool." This folder is typically located in the "C:Users[Your User Name]Pictures" directory. However, users can easily modify this default location to suit their organizational preferences.
Customizing Screenshot Storage
Windows 11 offers flexibility in managing screenshot storage. Users can adjust the default location, choose a different file format, and even integrate third-party screenshot tools for enhanced functionality.
Modifying the Default Location:
-
Open the "Settings" app: This can be done by searching for "Settings" in the Start menu or using the keyboard shortcut "Windows Key + I."
-
Navigate to "System" > "Storage" > "Advanced storage settings."
-
Locate the "New content will save to" section.
-
Click "Change" next to the "Pictures" option.
-
Select the desired location for your screenshots.
Choosing a Different File Format:
While the "Snipping Tool" defaults to PNG format, users can experiment with other formats like JPEG or BMP. However, this customization requires using third-party screenshot tools, as the built-in "Snipping Tool" lacks this feature.
Integrating Third-Party Screenshot Tools:
The Windows Store offers a plethora of free and paid screenshot tools. These tools often provide advanced features like annotation, scheduling, and integration with cloud storage services. Each tool may have its own default storage location, which can be customized within the tool’s settings.
Understanding the Importance of Screenshot Storage
Knowing where your screenshots are stored is crucial for several reasons:
-
Accessibility: Easy access to screenshots is essential for sharing, referencing, and editing captured images.
-
Organization: Storing screenshots in a designated location ensures a structured and easily navigable file system.
-
Security: By understanding screenshot storage, users can implement appropriate security measures, such as password protection or encryption, to safeguard sensitive information.
-
Efficiency: Knowing the default location saves time and effort when searching for captured images.
FAQs Regarding Screenshot Storage in Windows 11
Q: Can I disable the default screenshot storage location?
A: No, you cannot completely disable the default screenshot storage location in Windows 11. However, you can choose a different location within the "Pictures" folder or utilize third-party tools that allow for custom storage options.
Q: Are screenshots stored in the cloud?
A: Screenshots captured using the built-in "Snipping Tool" are not automatically stored in the cloud. However, third-party screenshot tools often offer cloud integration, allowing for automatic backup and synchronization.
Q: Can I use the "Print Screen" key to save screenshots directly to a file?
A: No, the "Print Screen" key only copies the screenshot to the clipboard. You need to paste it into an image editor like Paint or a similar program to save it as a file.
Q: What happens to my screenshots when I upgrade to a new version of Windows?
A: Your screenshots are typically preserved during a Windows upgrade. However, it’s always recommended to create backups of important data, including screenshots, before performing a major system update.
Tips for Managing Screenshot Storage in Windows 11
-
Create a dedicated folder: Within the "Pictures" folder, create a subfolder specifically for screenshots to maintain a clear and organized file system.
-
Utilize file names: Employ descriptive file names for easy identification of screenshots.
-
Consider cloud storage: Explore cloud storage services like OneDrive or Google Drive to automatically back up your screenshots and access them from multiple devices.
-
Explore third-party tools: Experiment with various screenshot tools to discover advanced features and find one that best suits your needs.
Conclusion
Understanding screenshot storage in Windows 11 is essential for optimizing digital workflow and ensuring efficient access to captured images. By knowing the default locations, customizing storage options, and utilizing third-party tools, users can seamlessly manage their screenshots, ensuring easy access, organization, and security. With the right approach, screenshot storage becomes an integral part of a productive and well-organized digital environment.


Closure
Thus, we hope this article has provided valuable insights into Understanding Screenshot Storage in Windows 11: A Comprehensive Guide. We thank you for taking the time to read this article. See you in our next article!